Maple sugar makes this creamy, dreamy ice cream taste like the most intense maple you've ever had. Thanks to Coombs Family Farms for sponsoring this post!
Maple has been my favorite sweetener for years, and now that I've seen how it's made, I love it even more. Last month, the folks at Coombs Family Farms invited me and Jay to New England to see their sugaring process firsthand. As born and raised Californians, a trip to New England in the dead of winter made us nervous. "What if I die?!" I asked my Massachusetts friend Janet the week before the trip. Perplexed she asked, "You mean...of snow?"
Spoiler: We did not die of snow. The powdery white stuff covering the ground made the world seem quiet, peaceful, and magical. We didn't mind tromping through it to the sugarhouse since warm, freshly boiled maple syrup was waiting at the other end of a grove of maple trees.
We stayed at the picturesque Chesterfield Inn just over the Vermont border in New Hampshire, and found our room stocked with a massive sap bucket filled to the brim with maple goodness.
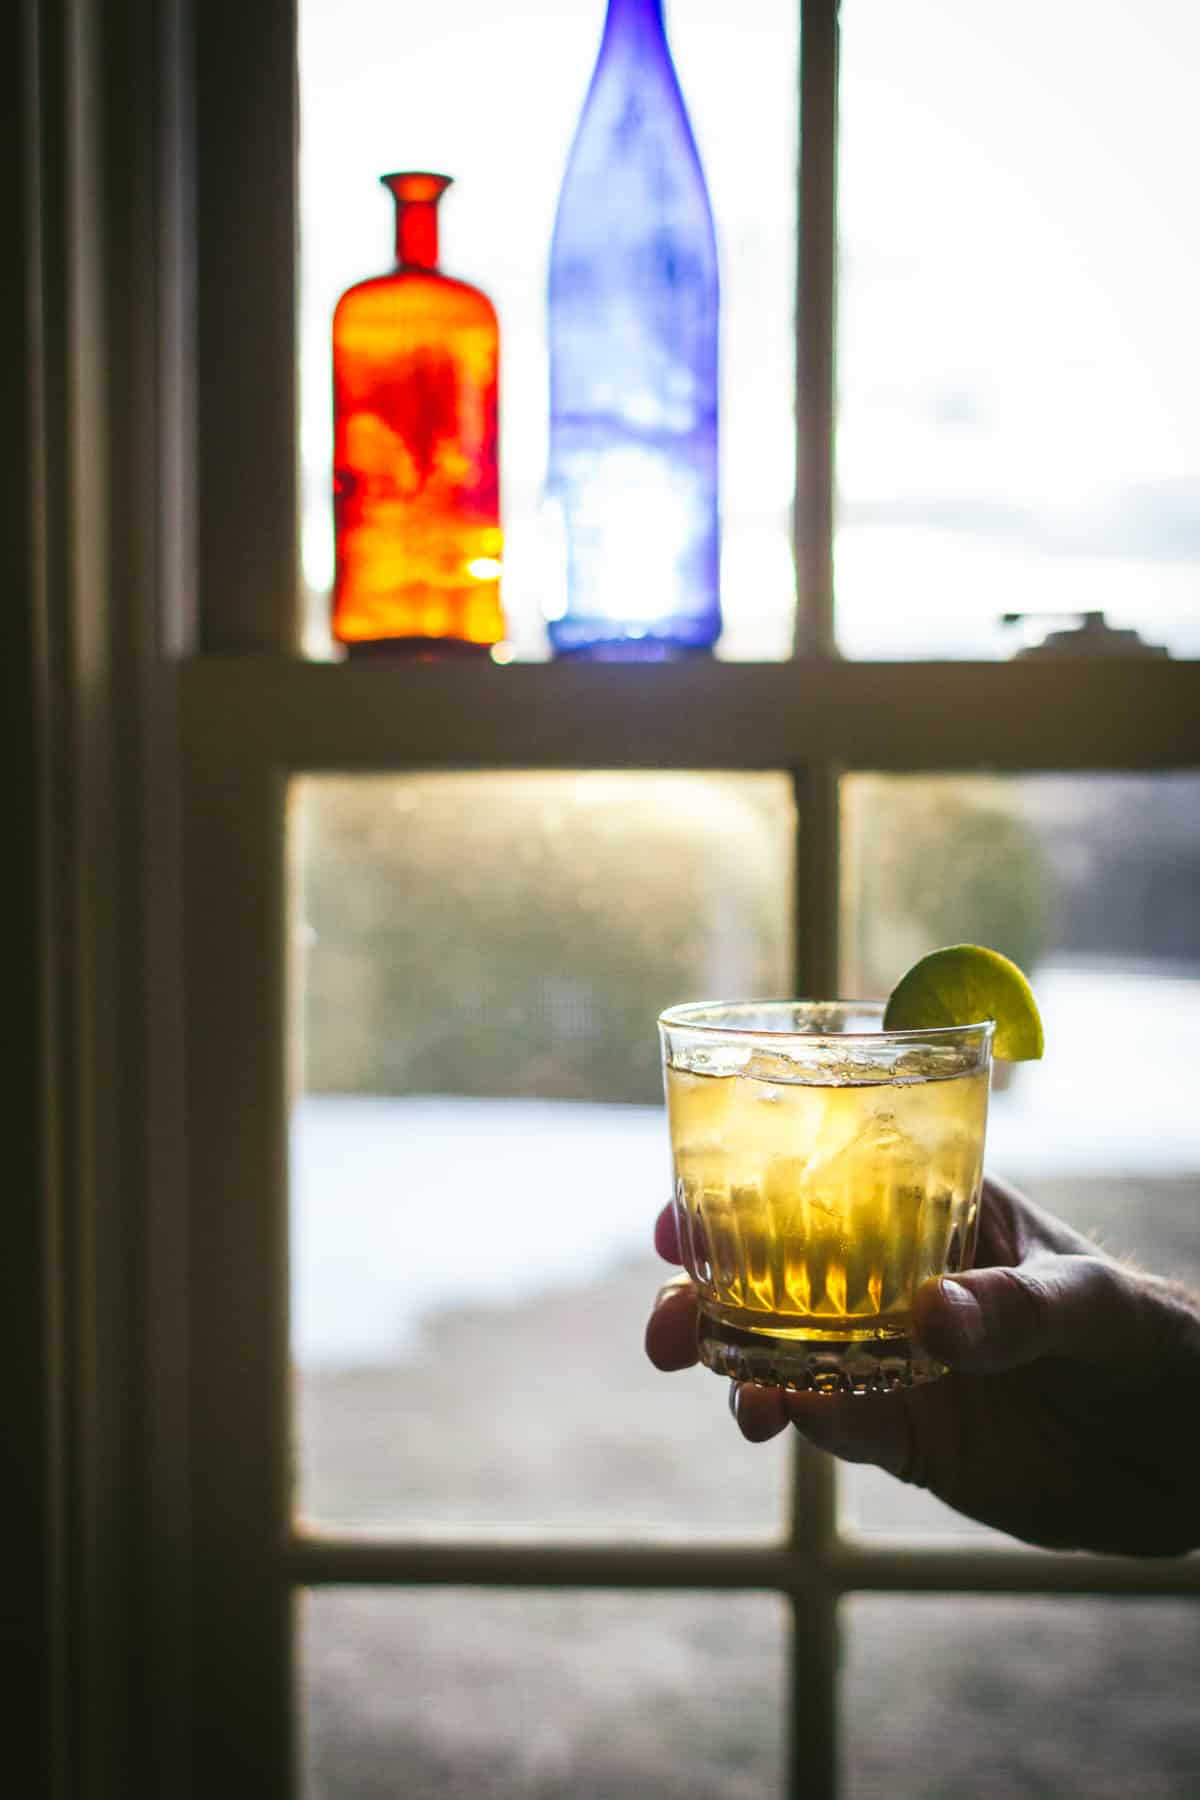
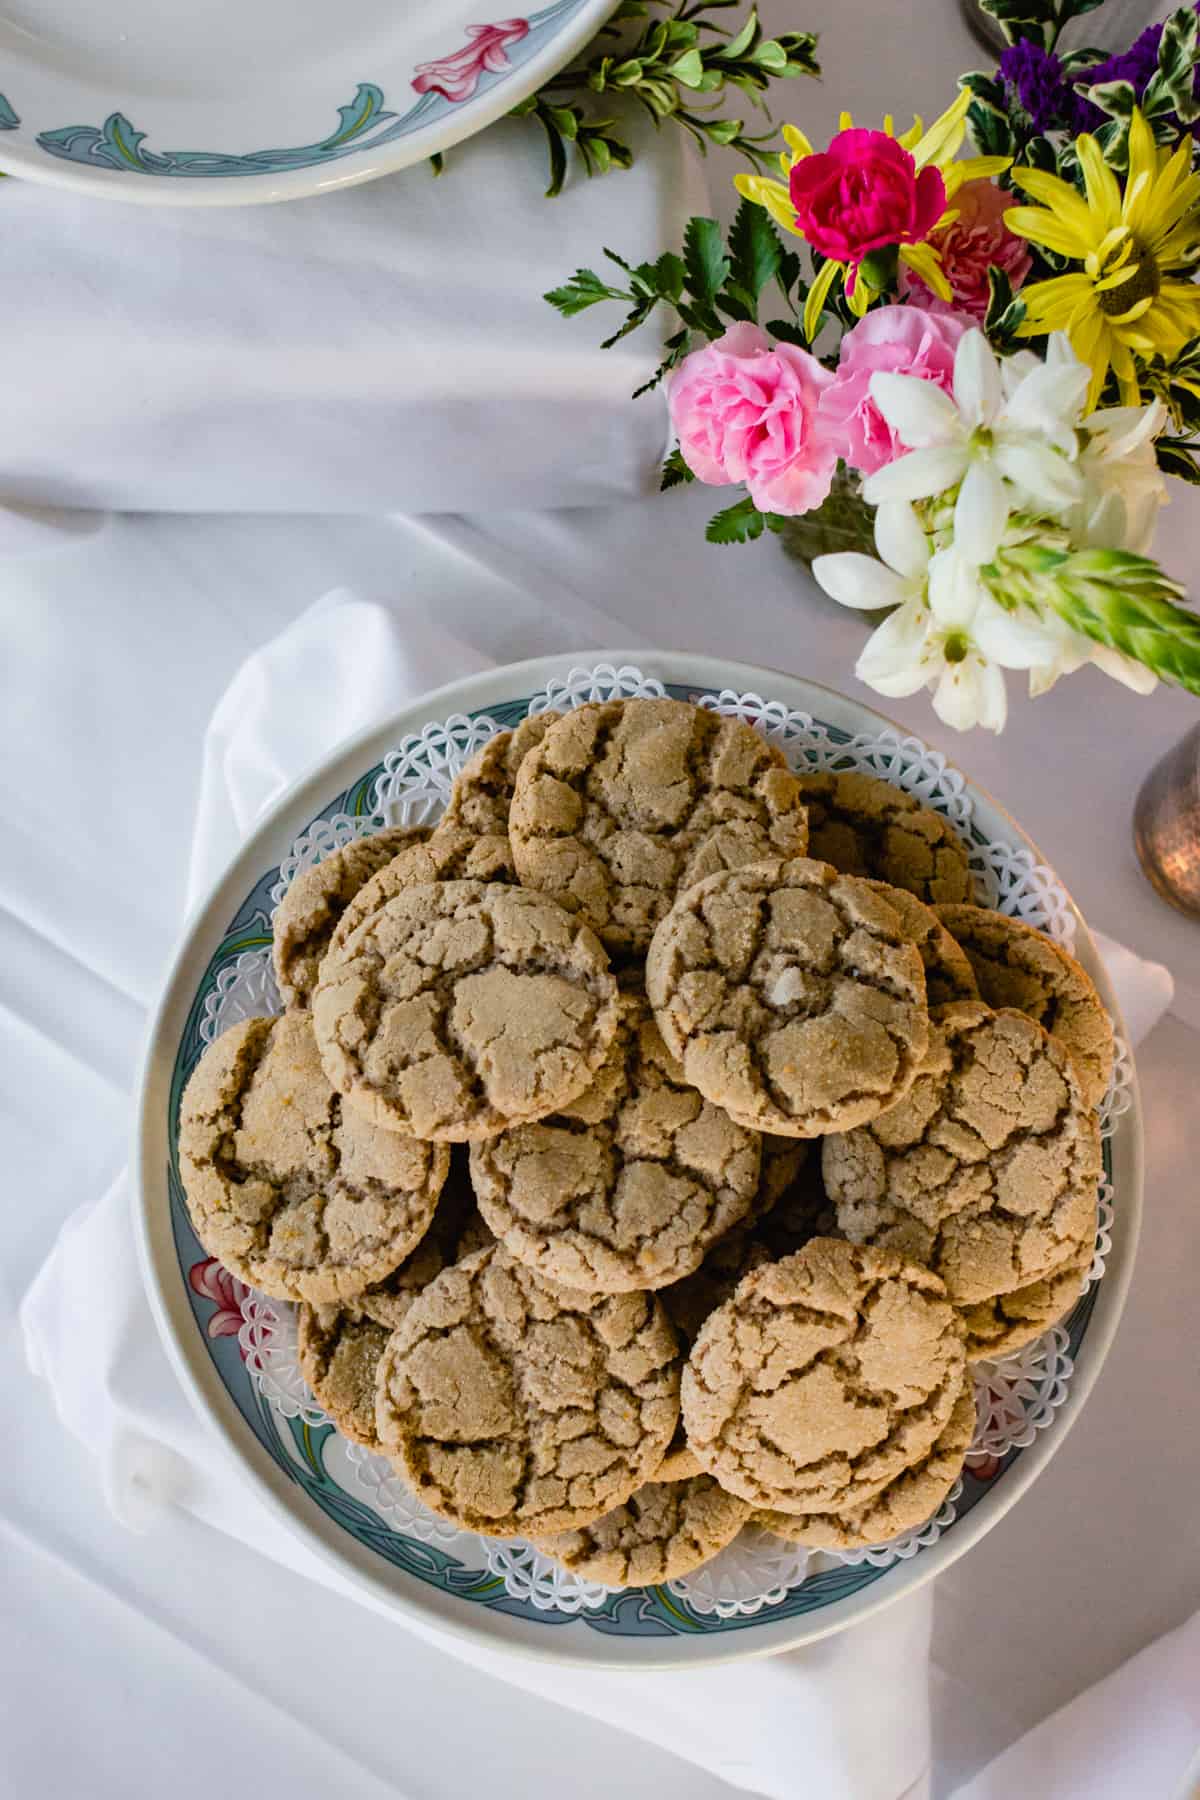
An epic maple meal at the inn's restaurant started out with our choice of six (6!) maple infused cocktails, my favorite of which was the No'Easter – a New England version of a Dark n' Stormy made with maple and whiskey. There was a green salad with maple balsamic vinaigrette, roasted salmon with maple butter, maple quinoa-stuffed acorn squash, and the grand finale: a dessert buffet with no less than 10 different maple-sweetened treats made by baking extraordinaire Cindy (aka Queen of Maple).
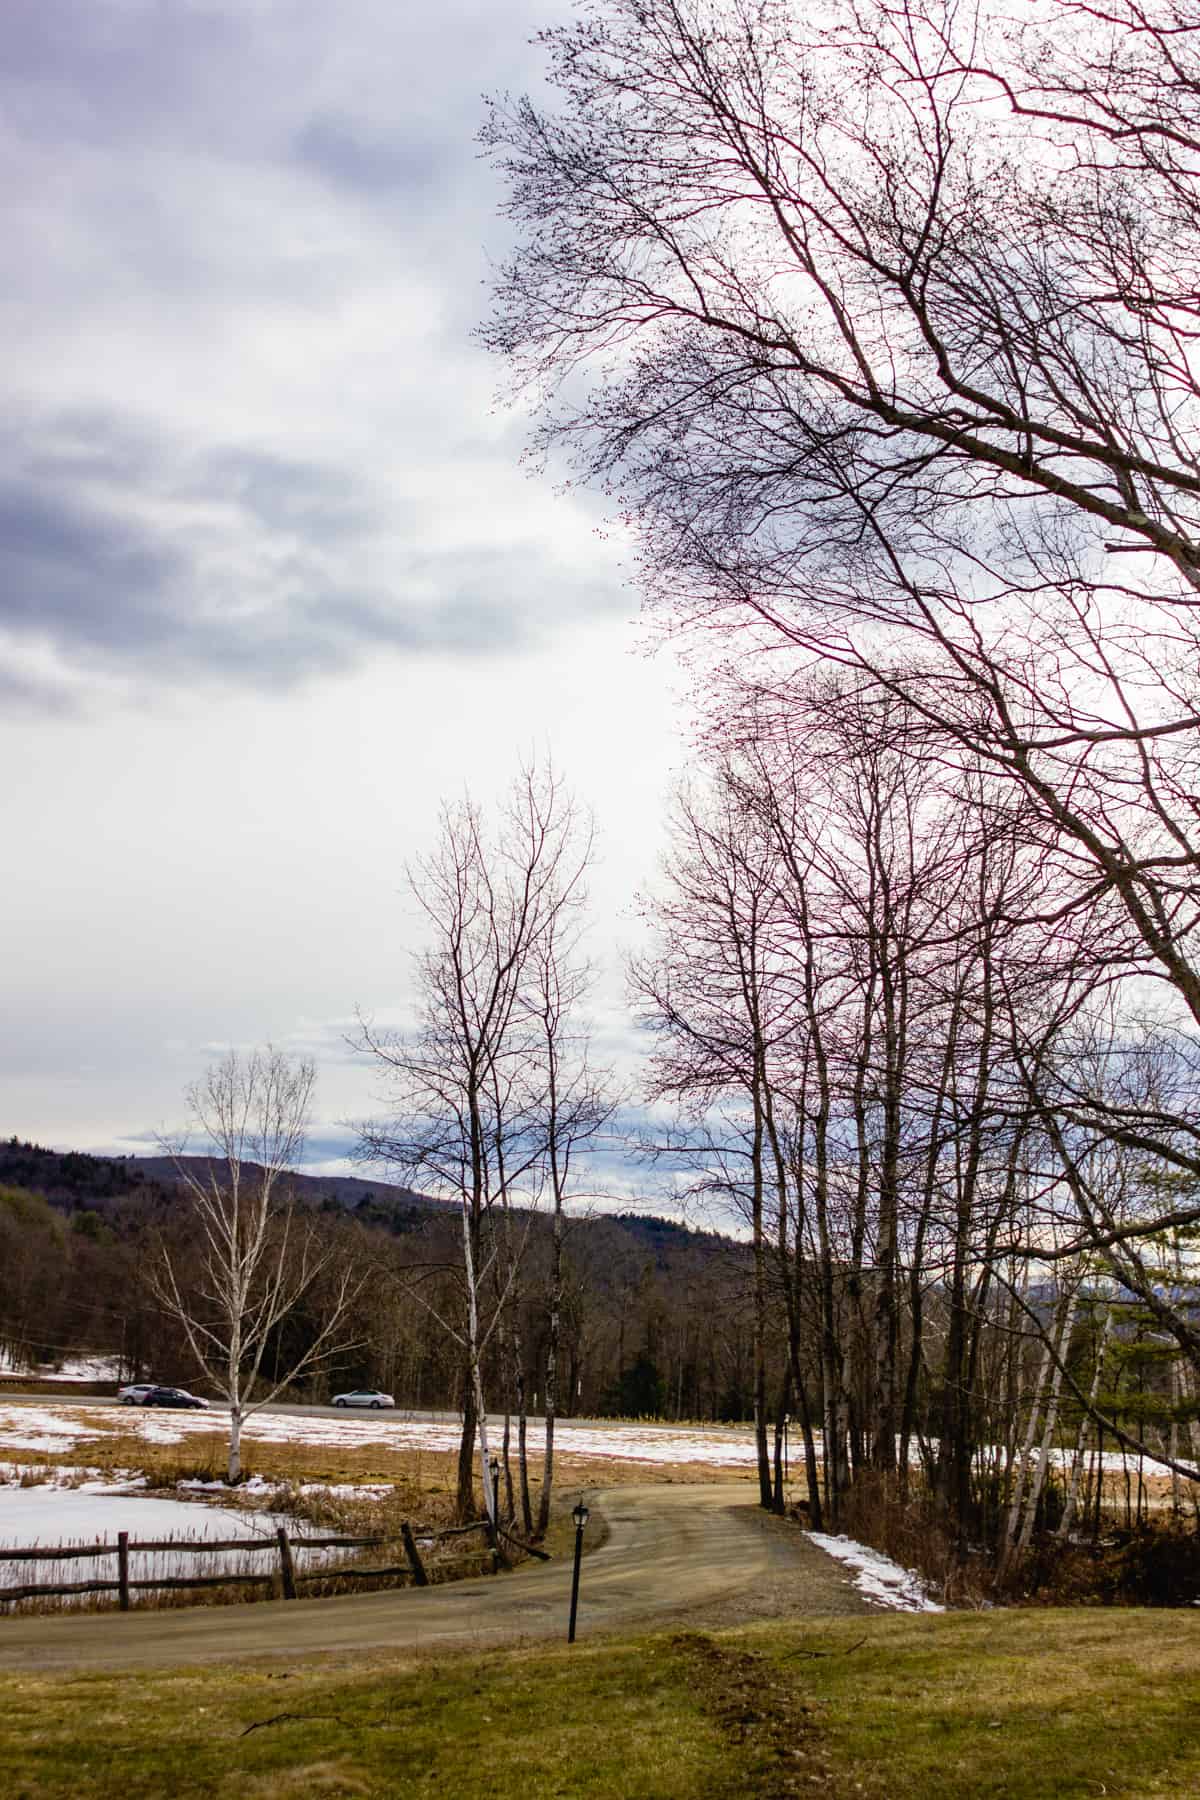
The next day we pried ourselves away from Chesterfield fixture Yoda aka Best Cat Ever, and drove through majestic southern Vermont to learn all about the sugaring process.

It takes 40 or 50 gallons of maple sap to make 1 gallon of maple syrup. The sap is completely liquid and crystal clear, and it tastes like a glass of water sweetened with the tiniest drop of maple syrup. The sap needs certain weather conditions to flow – freezing nights and sunny days to help the sap flow upwards from the roots of the trees. To collect the sap, a tiny hole is drilled into the tree (don't worry – these don't hurt the trees at all).
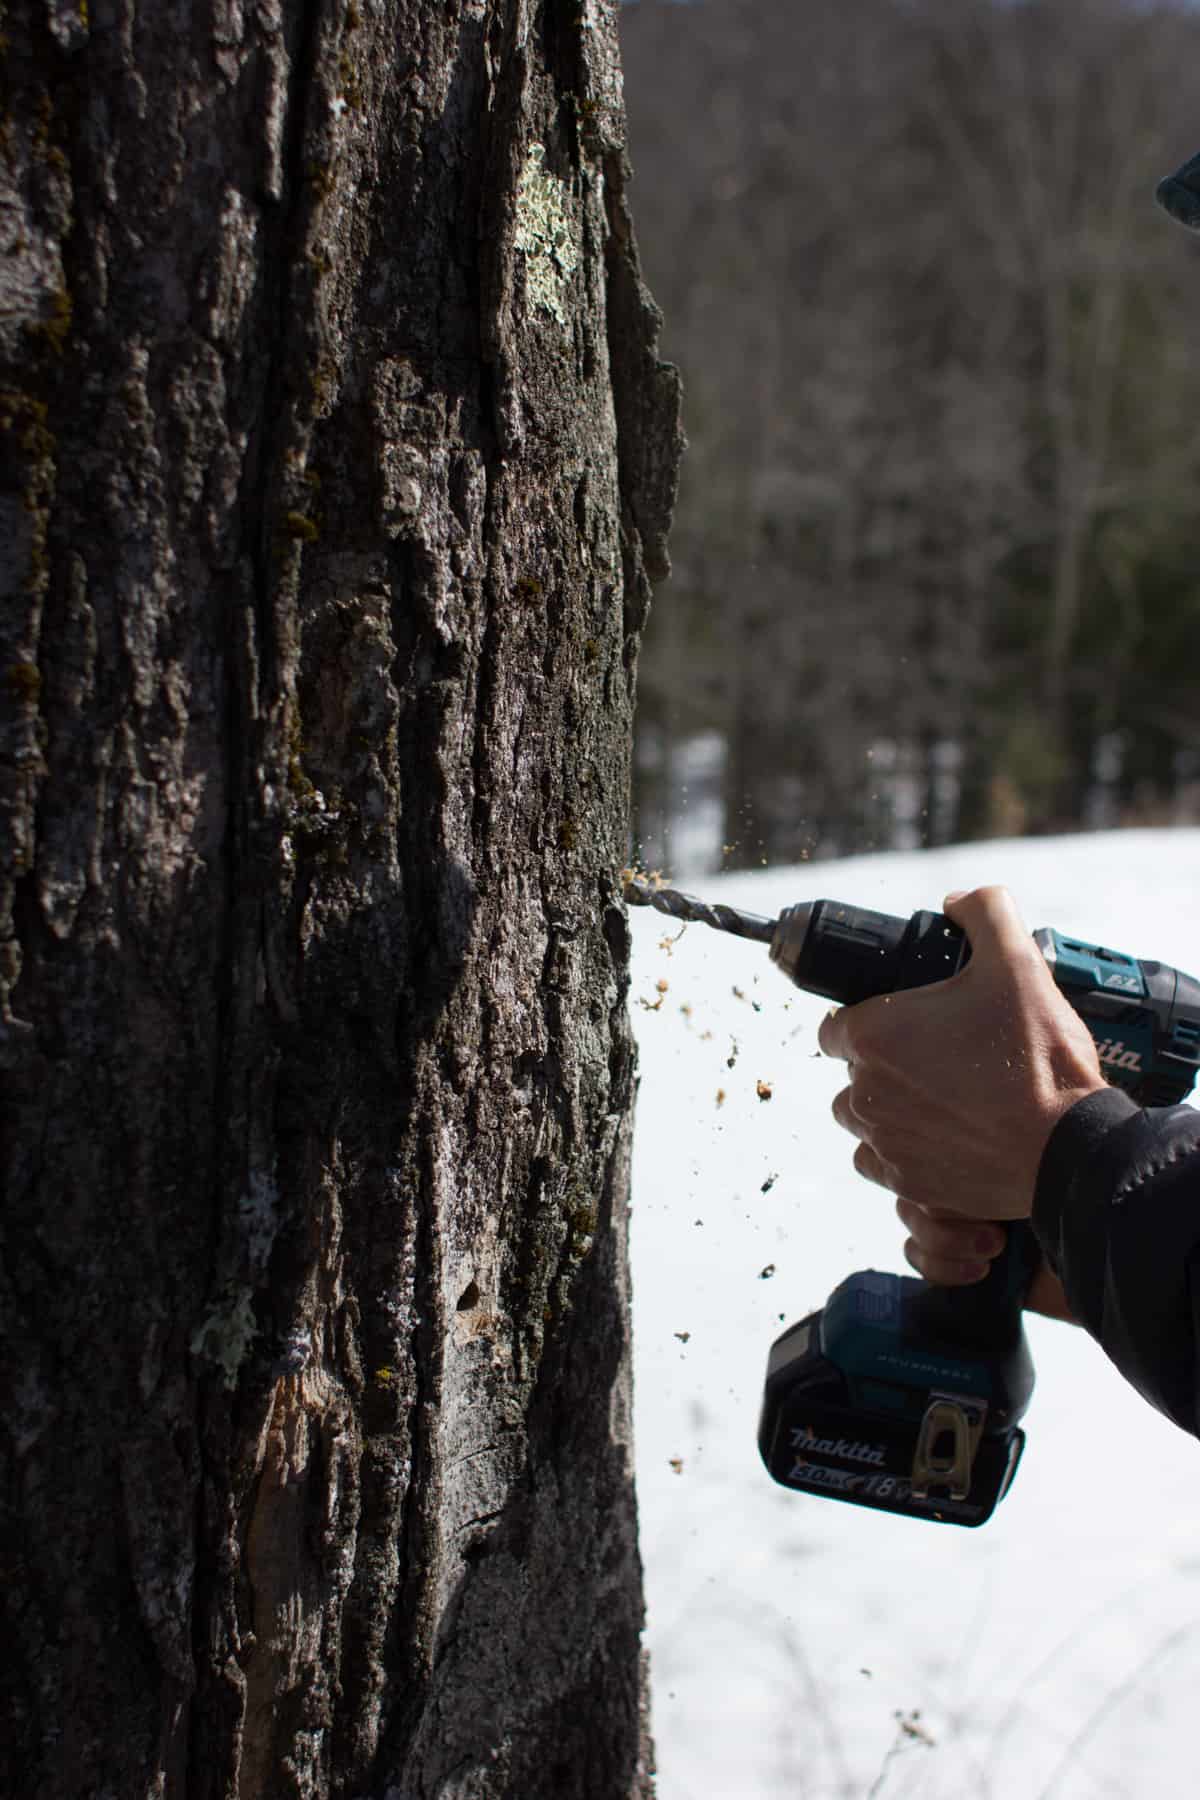
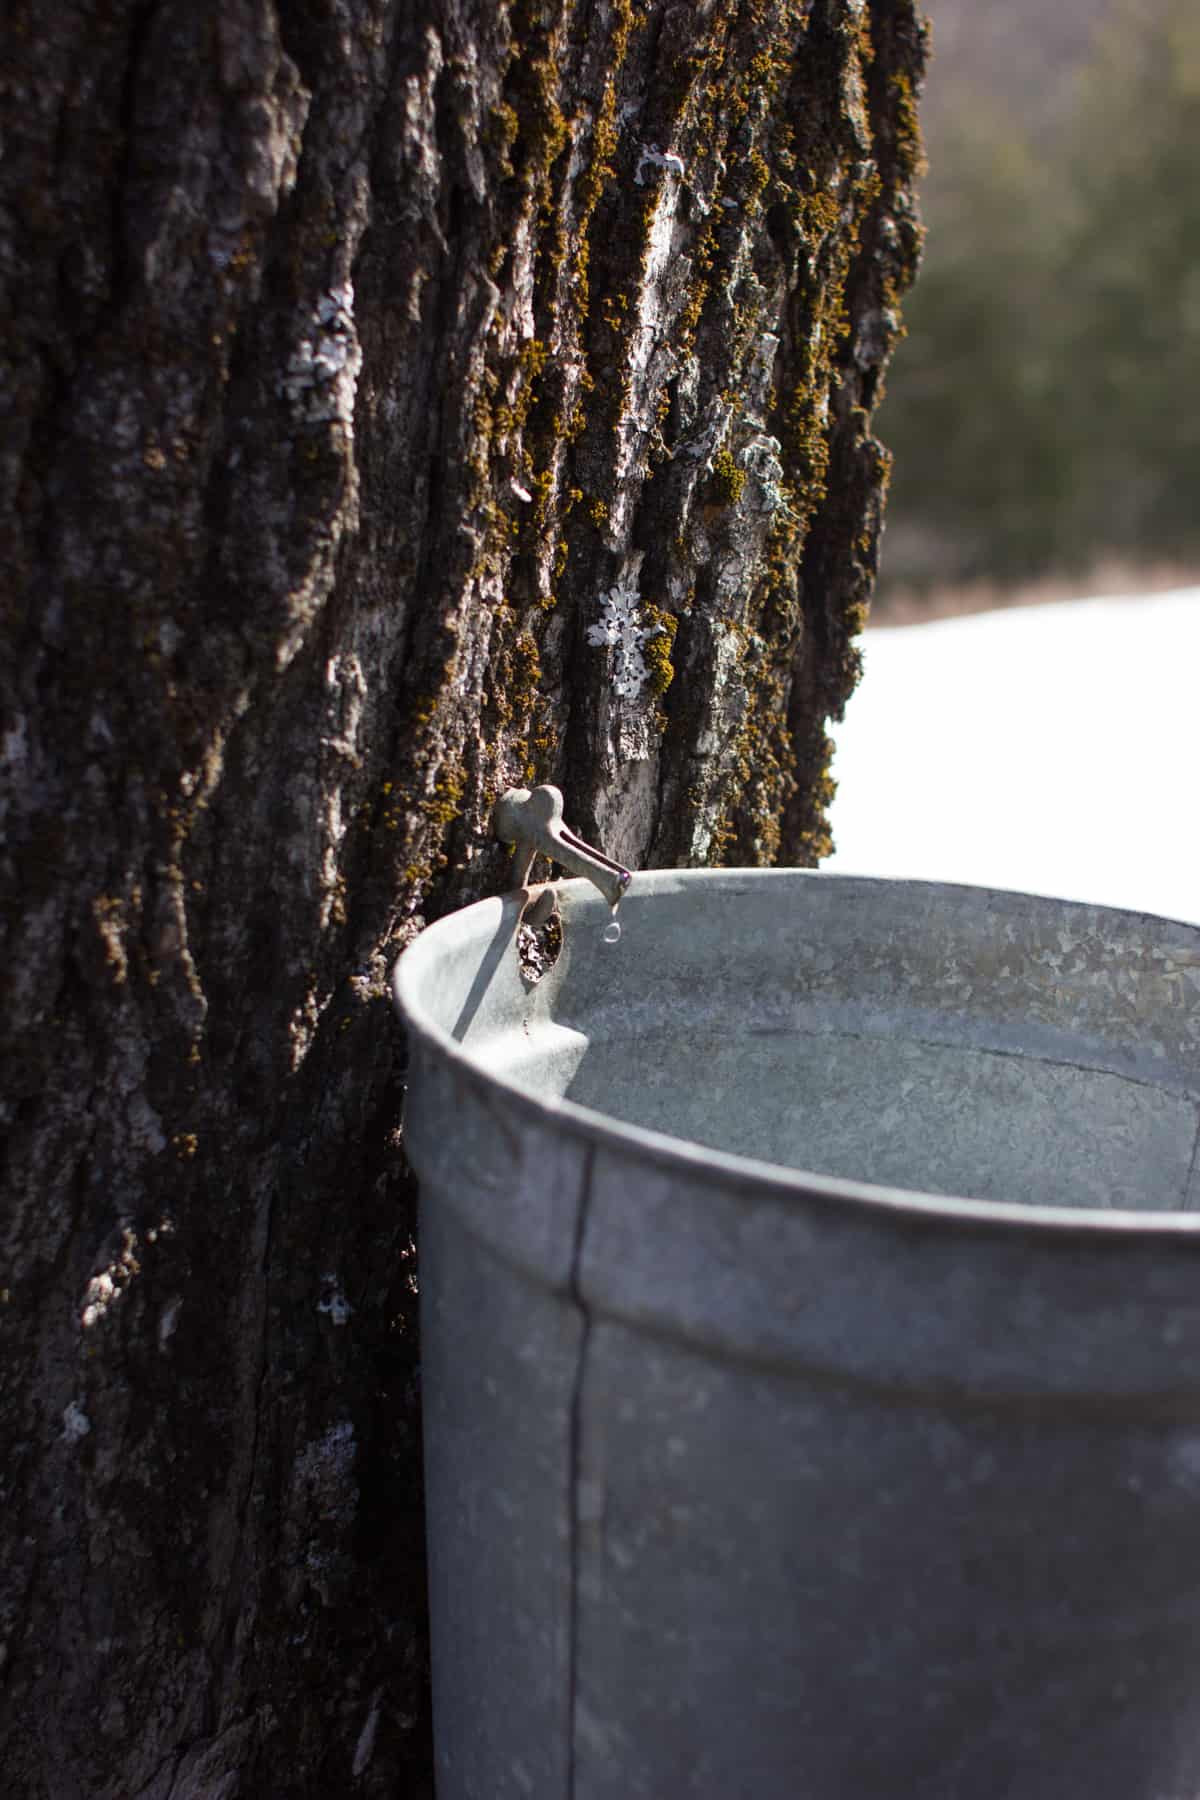
A small tap is inserted into the hole with a bucket hung underneath, and drop by drop the bucket fills up over the course of a day or so, depending on the weather conditions. There are more modern ways to collect sap, such as through a series of tubes strung through the trees, but the iconic metal bucket with a peaked lid to keep out debris is the classic method.
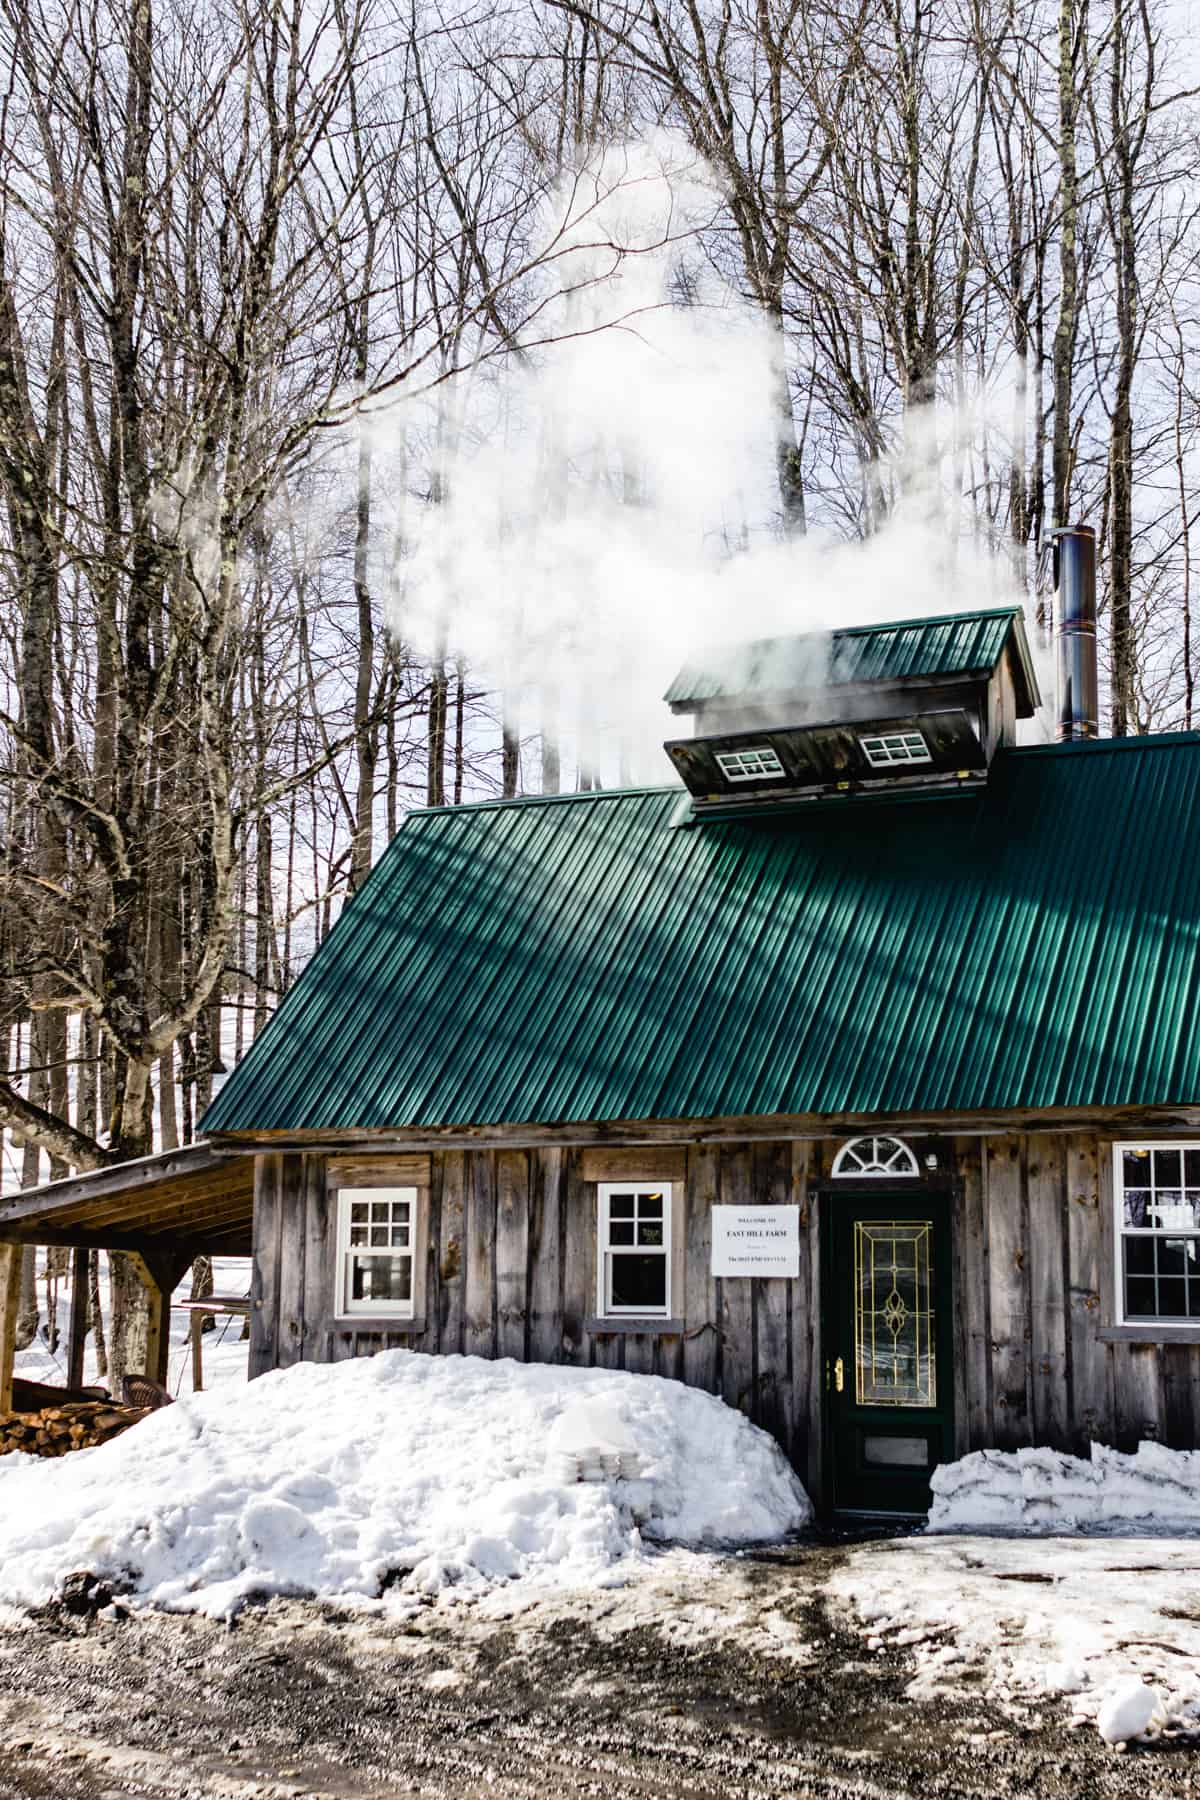
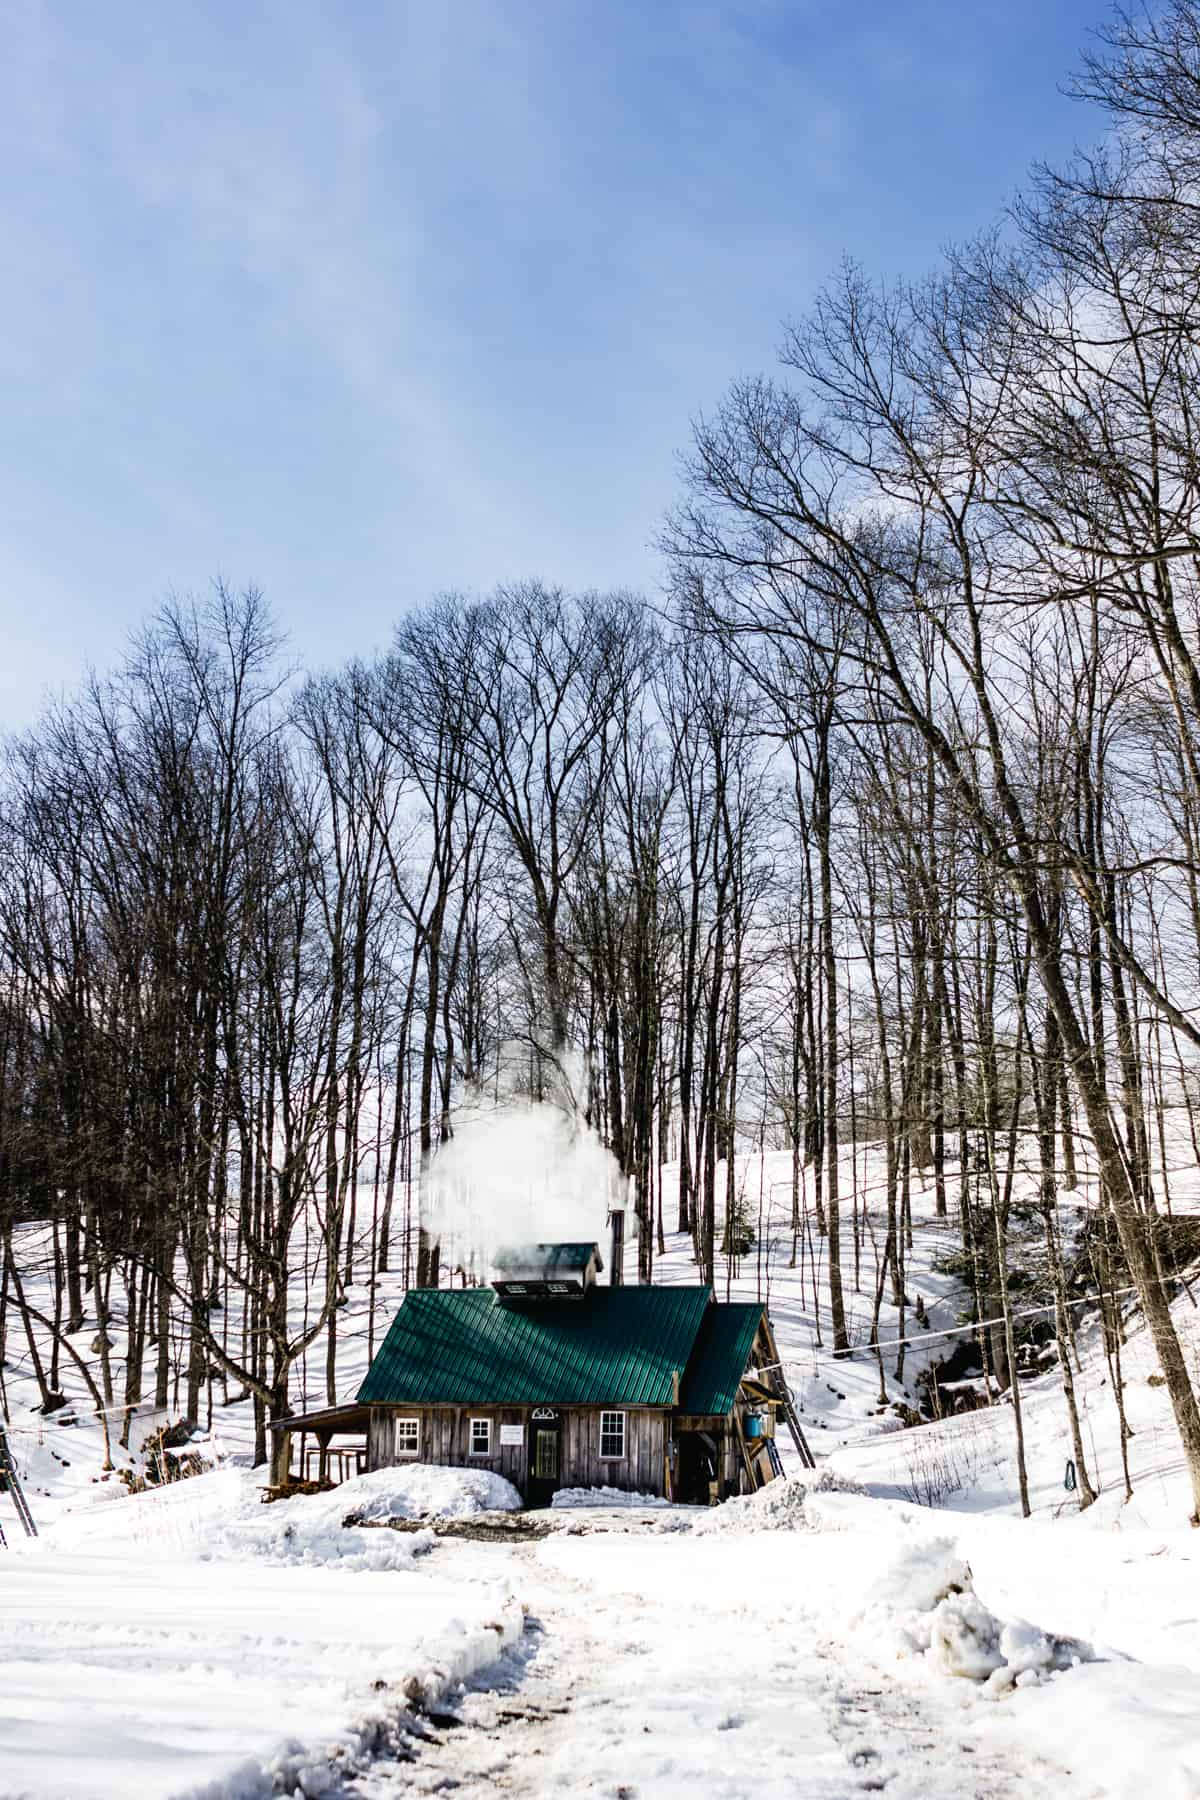
After the sap is collected, it's taken to a sugar house and boiled in a large, shallow pan until it reaches a certain ratio of sugar to liquid; in maple speak, it needs to reach a Brix level of 66-68 to be maple syrup. (The steam escaping the building in the photo above is the maple cooking!) The golden hue of the syrup comes from the caramelization of the sugars. Light syrup (previously called Grade A but now called Grade A Amber Color Rich Taste) comes at the beginning of the season when the sugars are the most concentrated and less boiling is needed to reduce the syrup to the correct consistency, so the syrup has less caramelization. As the season goes on and the sap becomes less concentrated with sugars, more boiling is needed to reduce the syrup, and more caramelization occurs resulting in darker syrup (which used to be called Grade B but is now called Grade A Dark Color Robust Taste).
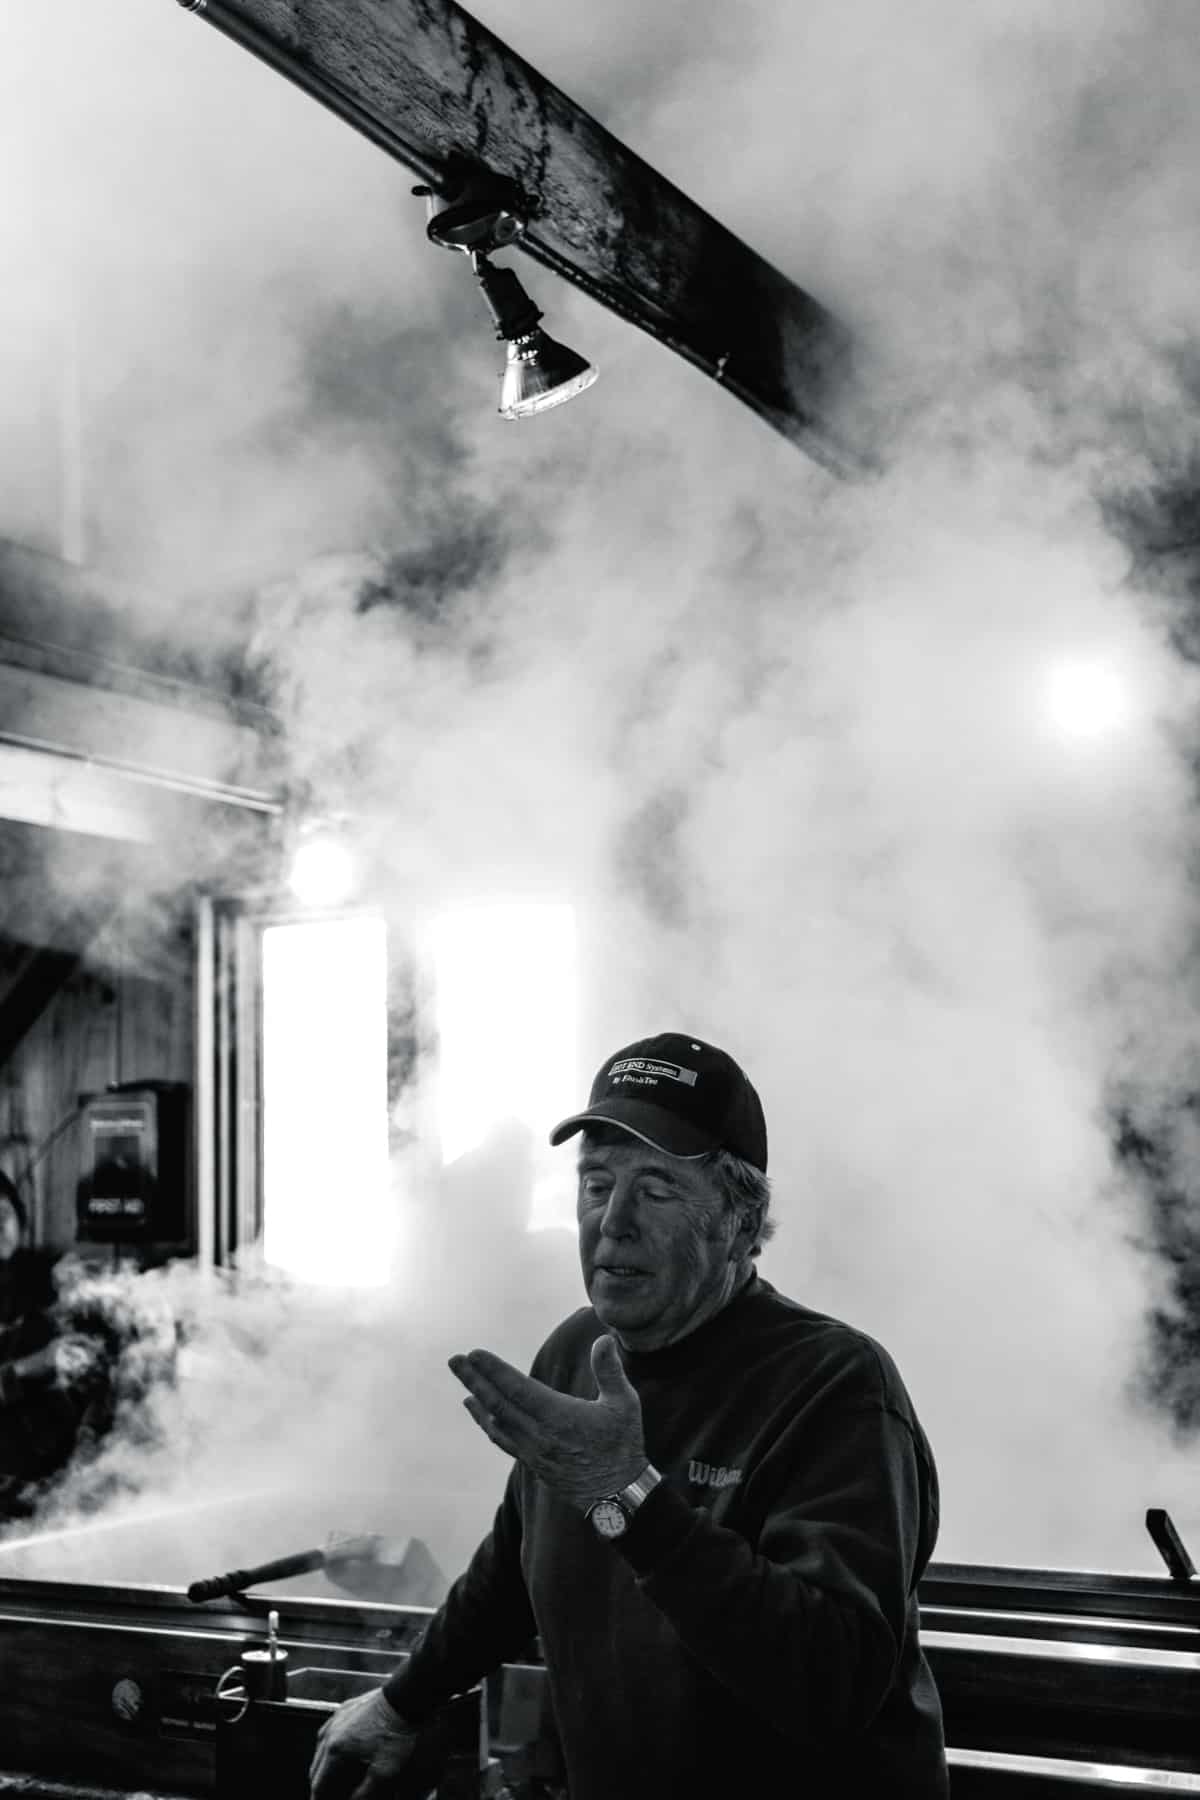
Steamy!
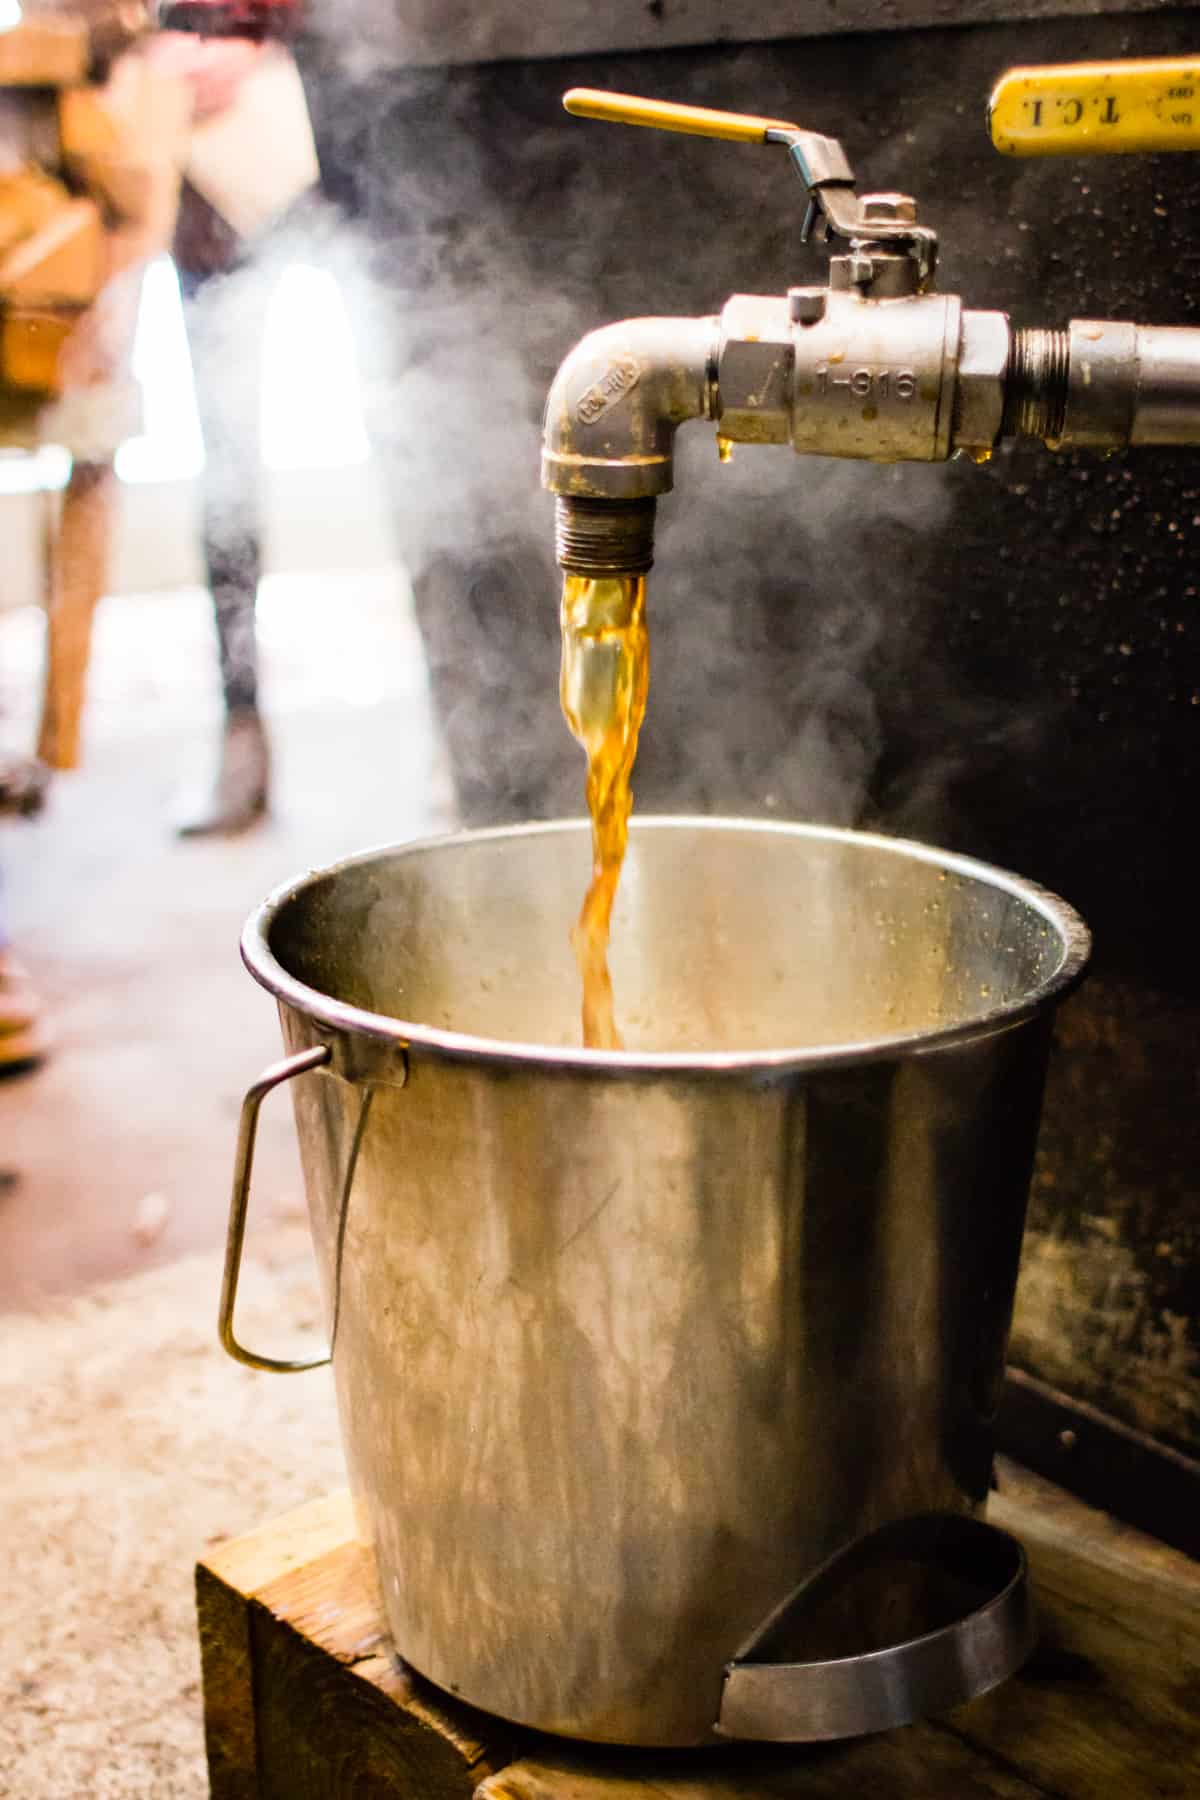
The finished product!
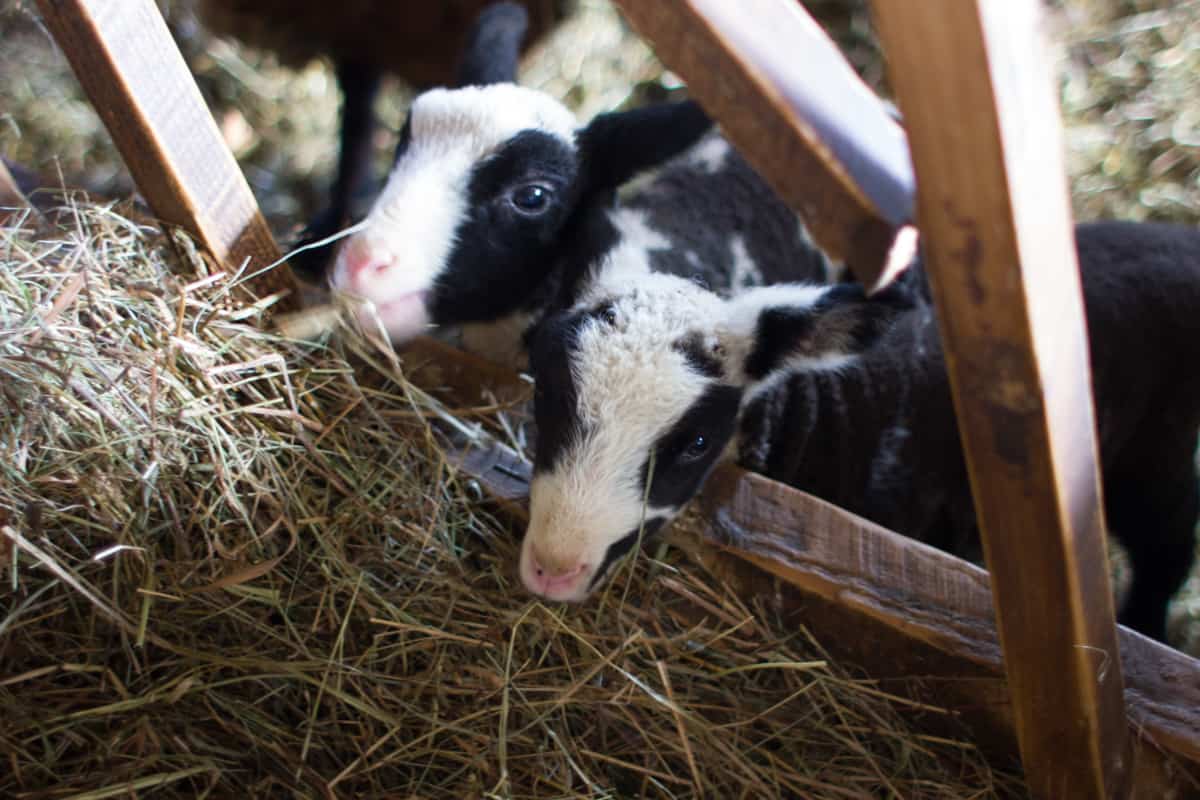
Friends!
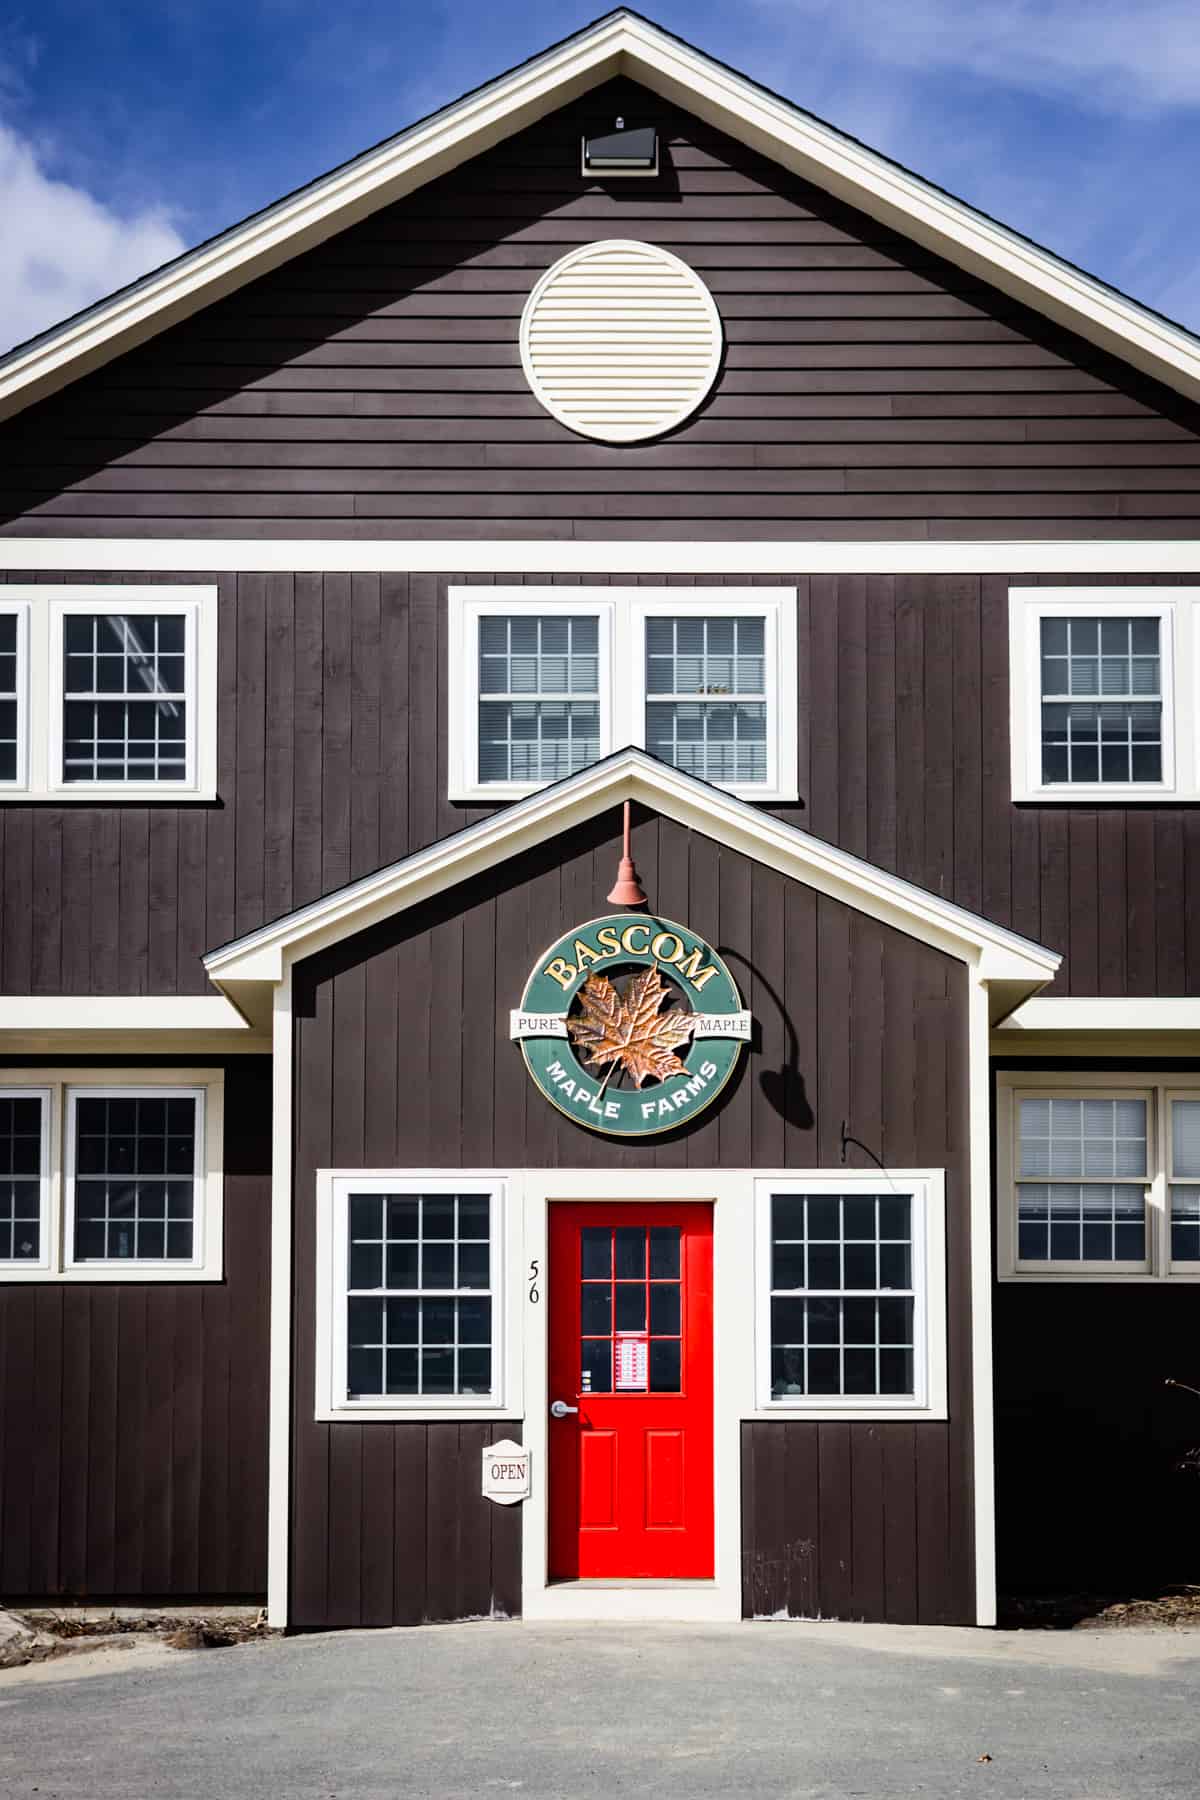
Next we headed to the Bascom and Coombs facility to see the larger maple production.
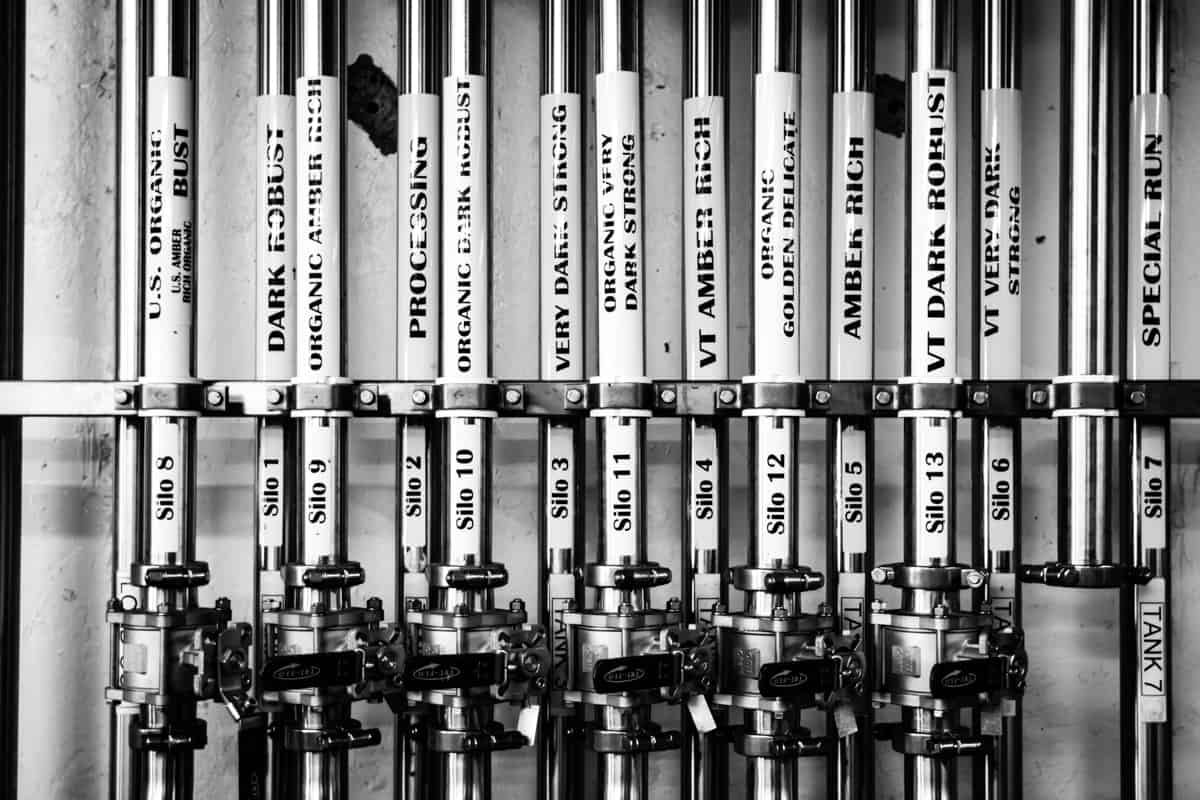
There are many different grades of syrup and, like wine, sometimes the grades are blended together to get the best flavor.
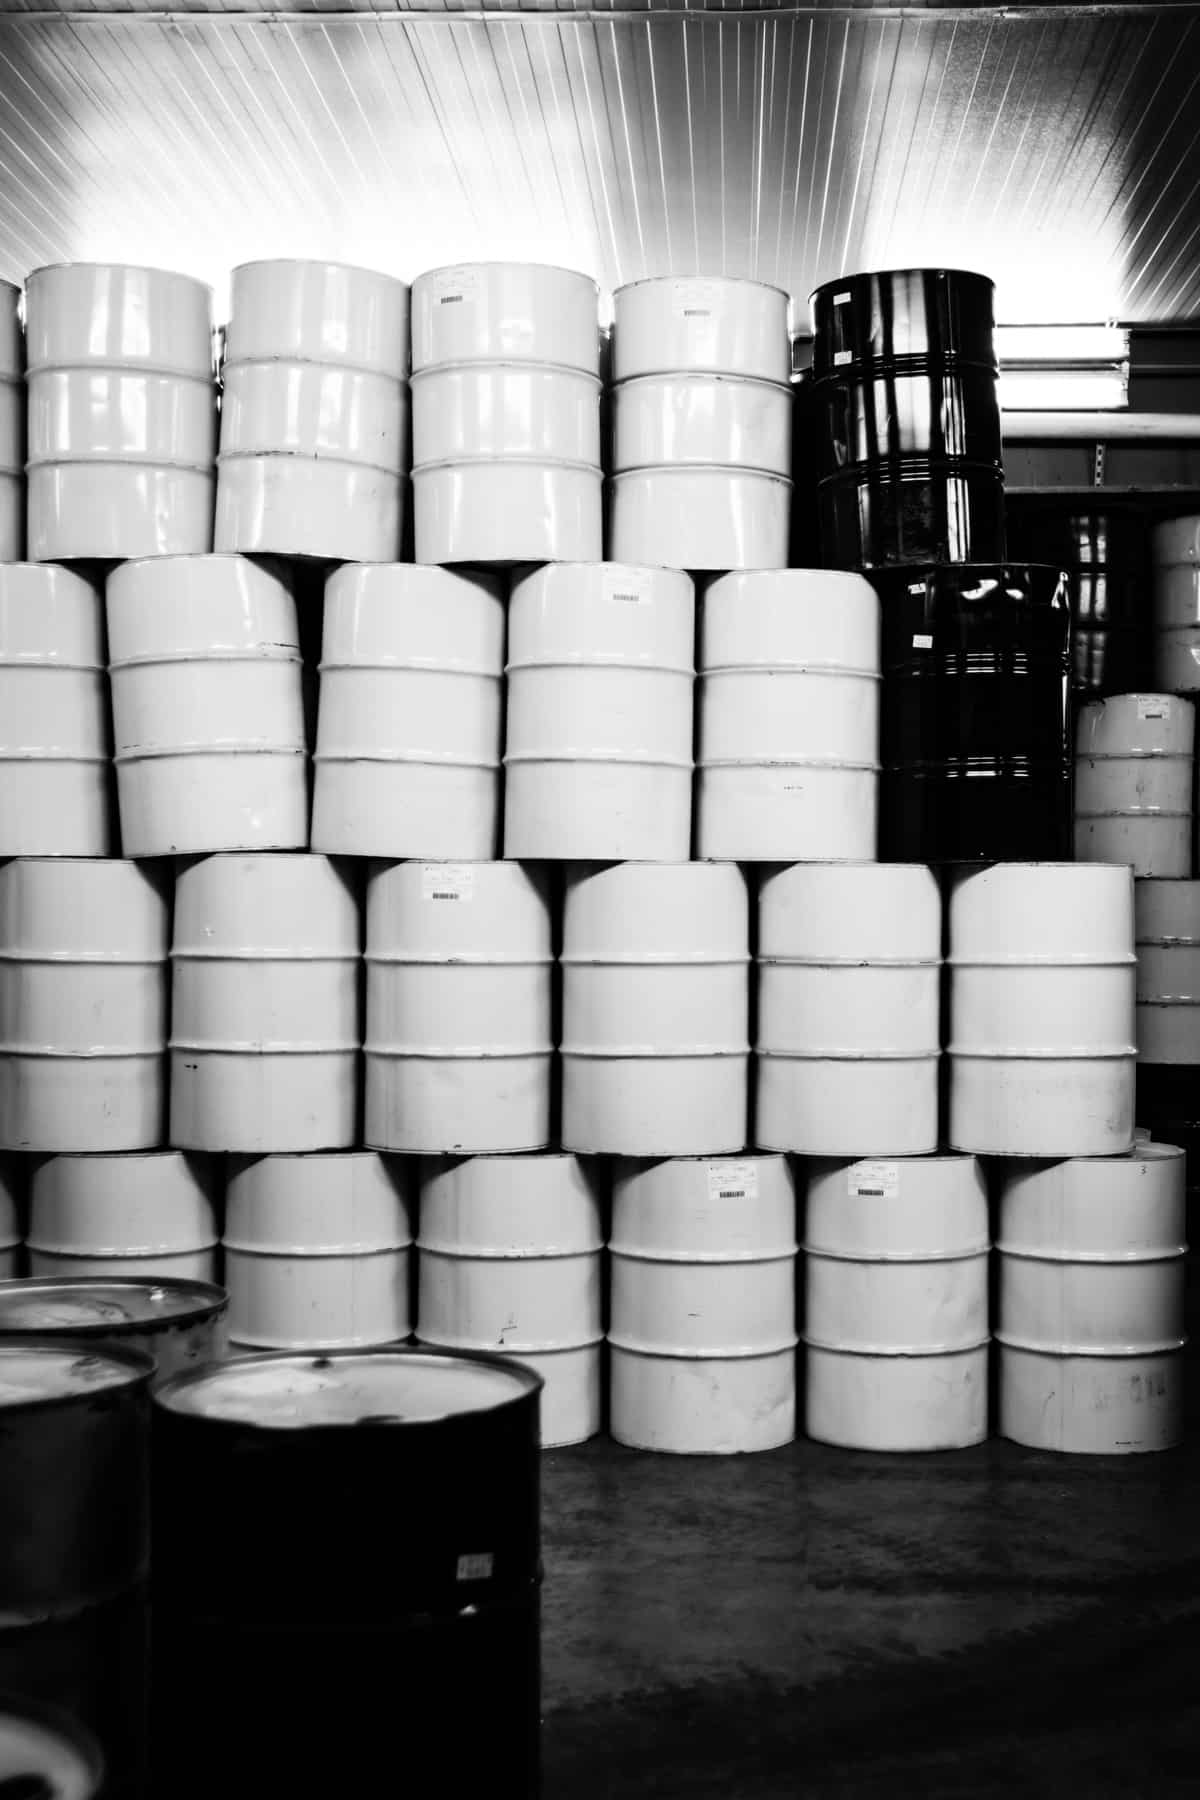
So much maple syrup in those barrels!
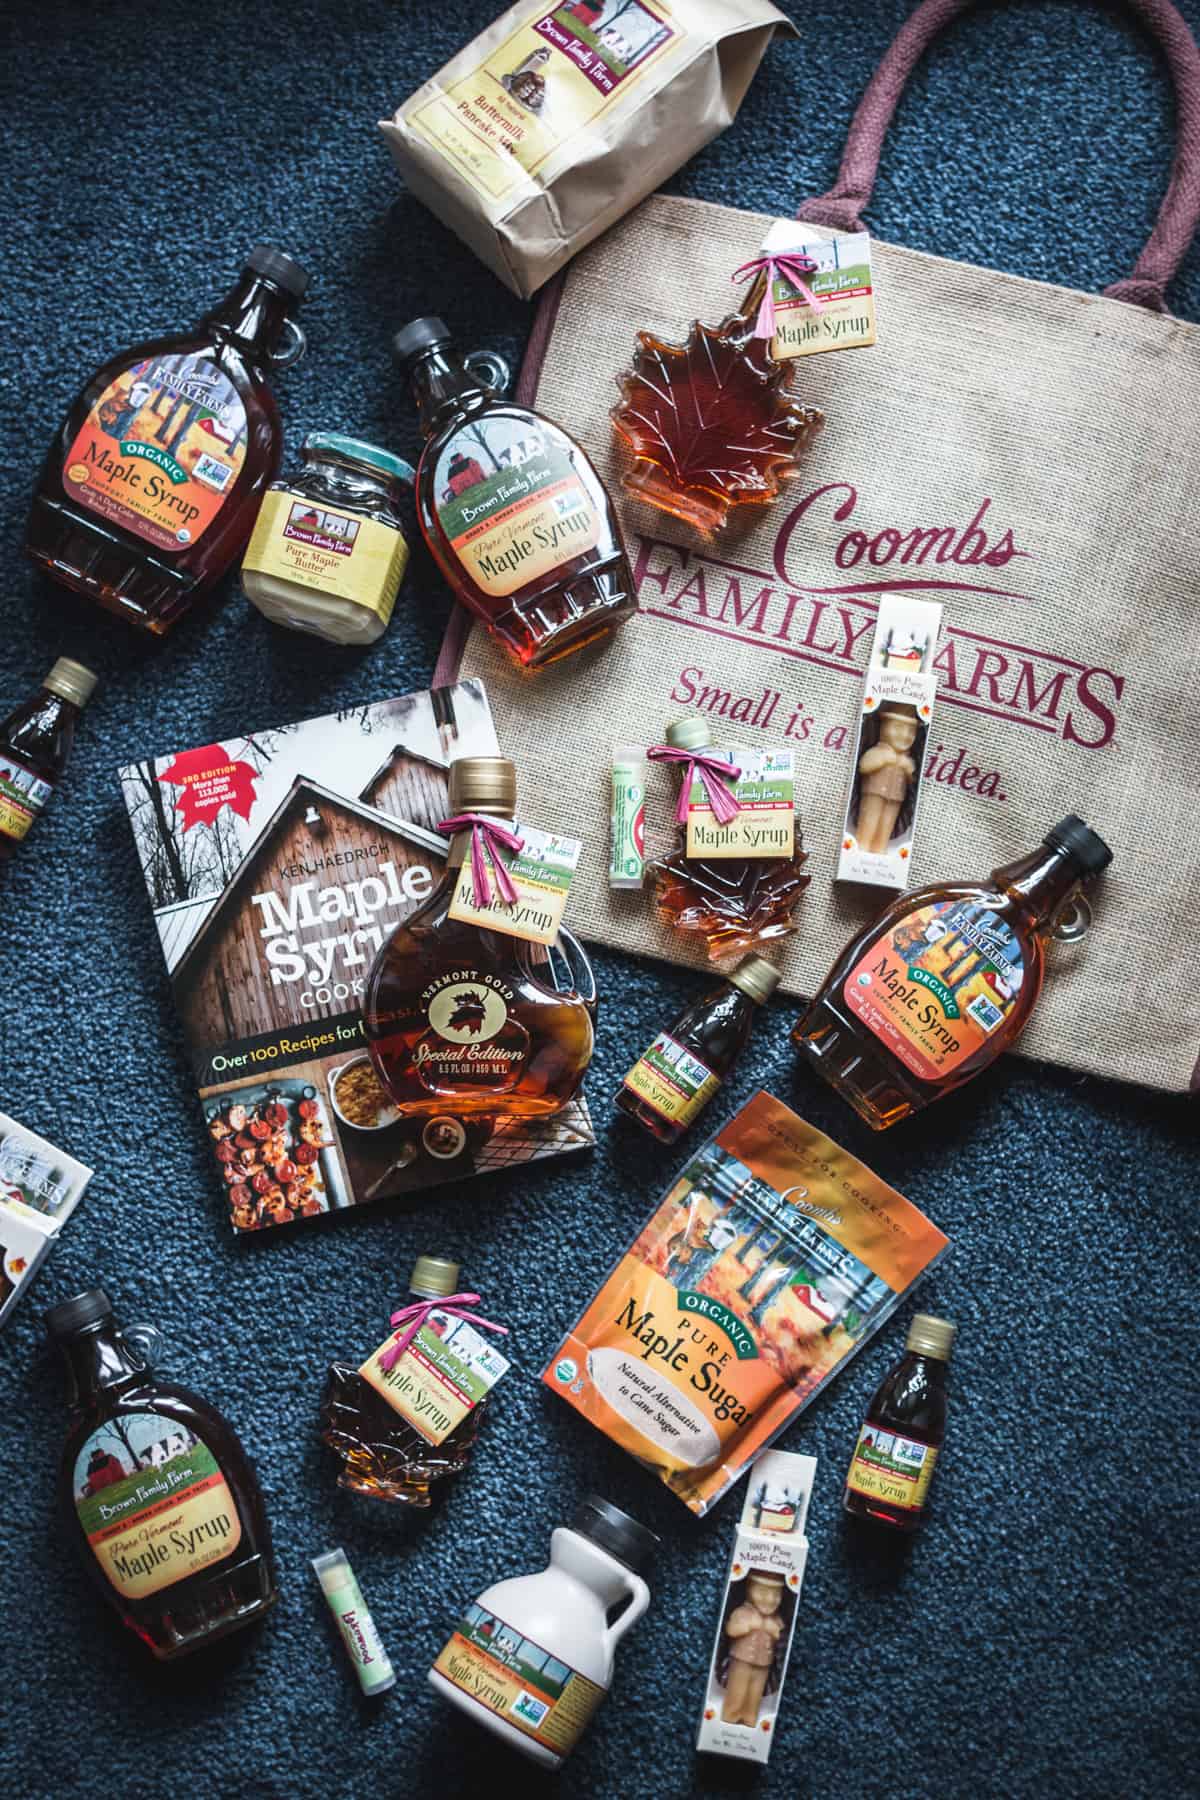
Maple sugar is made by evaporating the liquid from maple syrup, leaving behind free-flowing granules of maple goodness. It isn't cheap, but knowing the laborious process it takes to make it, it's worth every penny. If you love the taste of maple, I'd highly recommend the splurge.
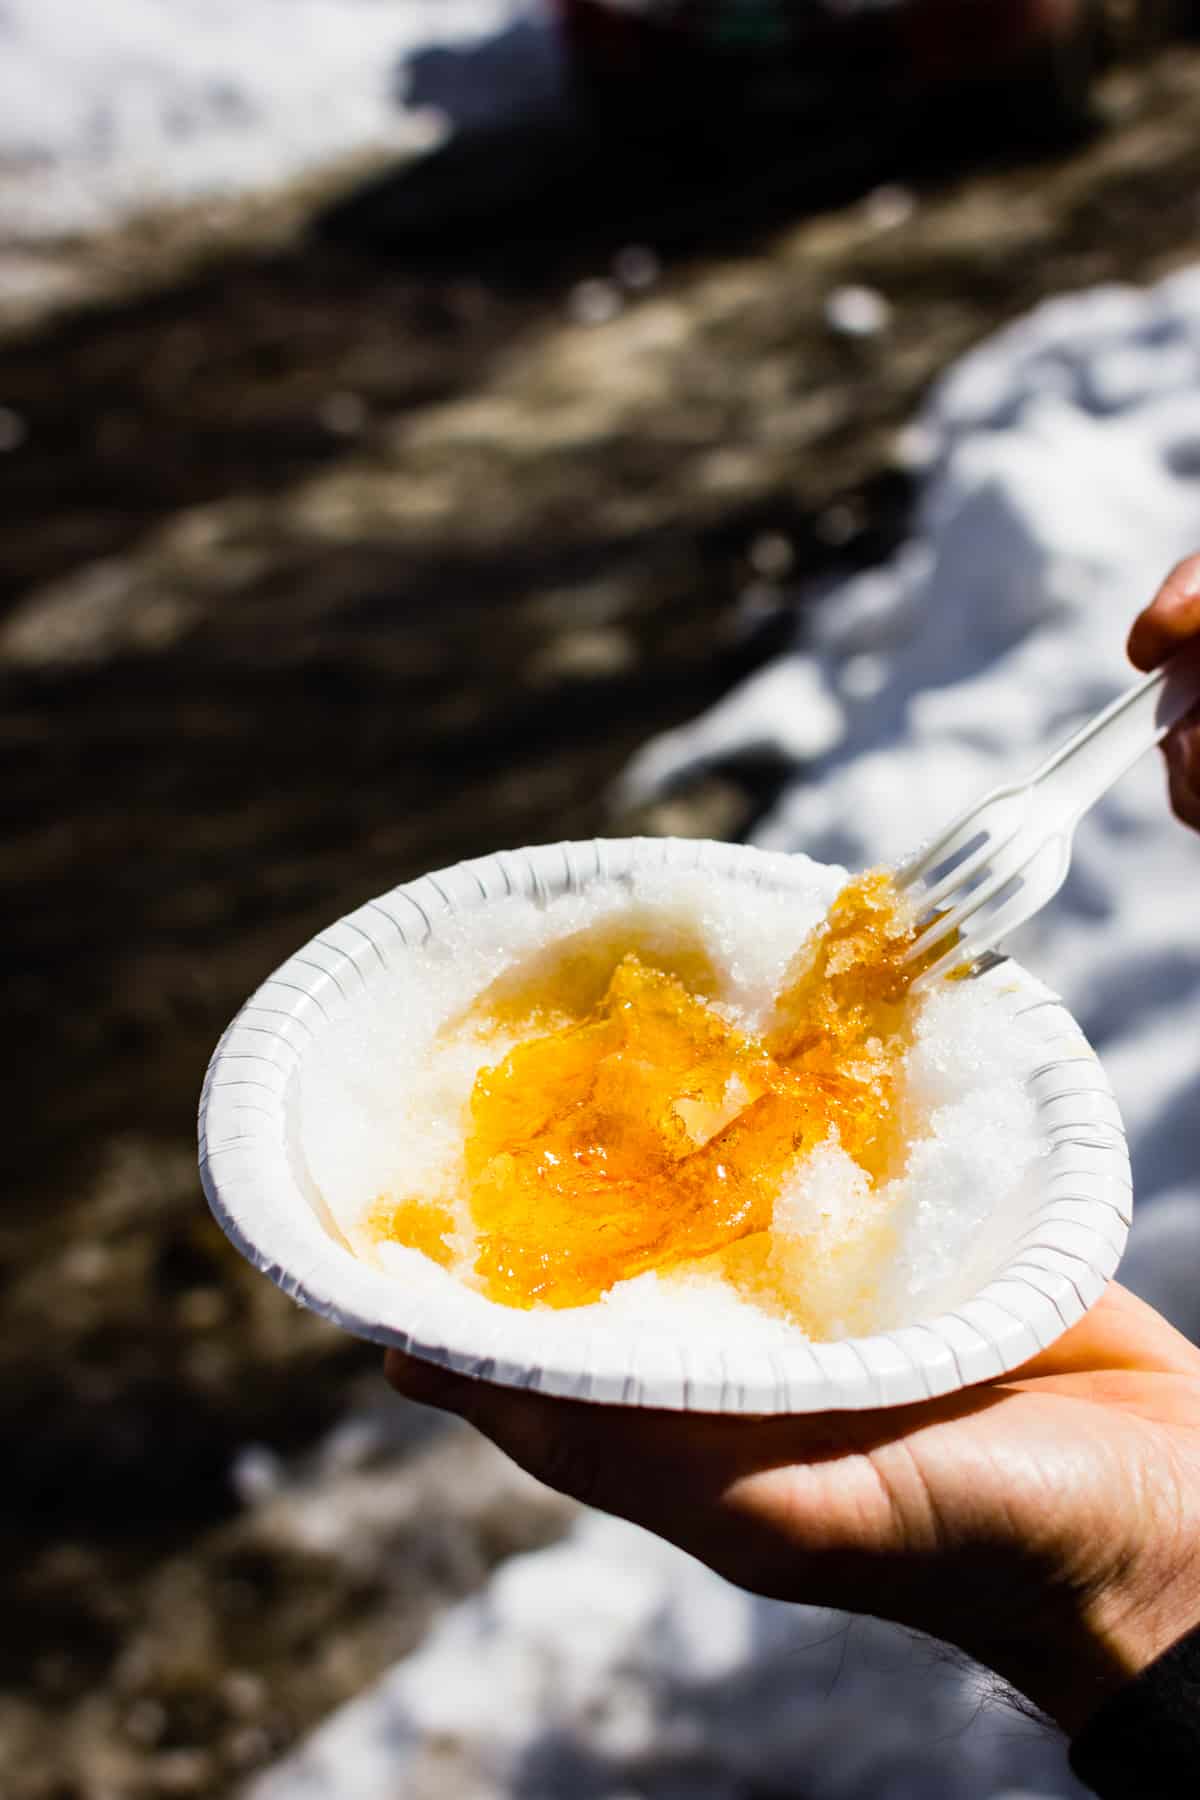
My favorite part of the trip (besides Yoda snuggles, meeting Aysegul for dinner, cross-country skiing with our SF transplant friends, and a quick stop in the Berkshires) was when Cindy treated us to Sugar on Snow. Maple syrup is boiled until it reaches the soft ball stage, then poured over a bowl of packed snow. The syrup hardens to the consistency of caramel candies when it hits the ice cream. The taste is intensely maple with an almost creamy mouthfeel, and the snow absorbs some of the syrup, becoming a maple slushy of sorts. It's traditional to take your sugar on snow with a side of dill pickles to break up the sweetness. From my point of view, it's a tradition worth moving to the other side of the country to enjoy every year.
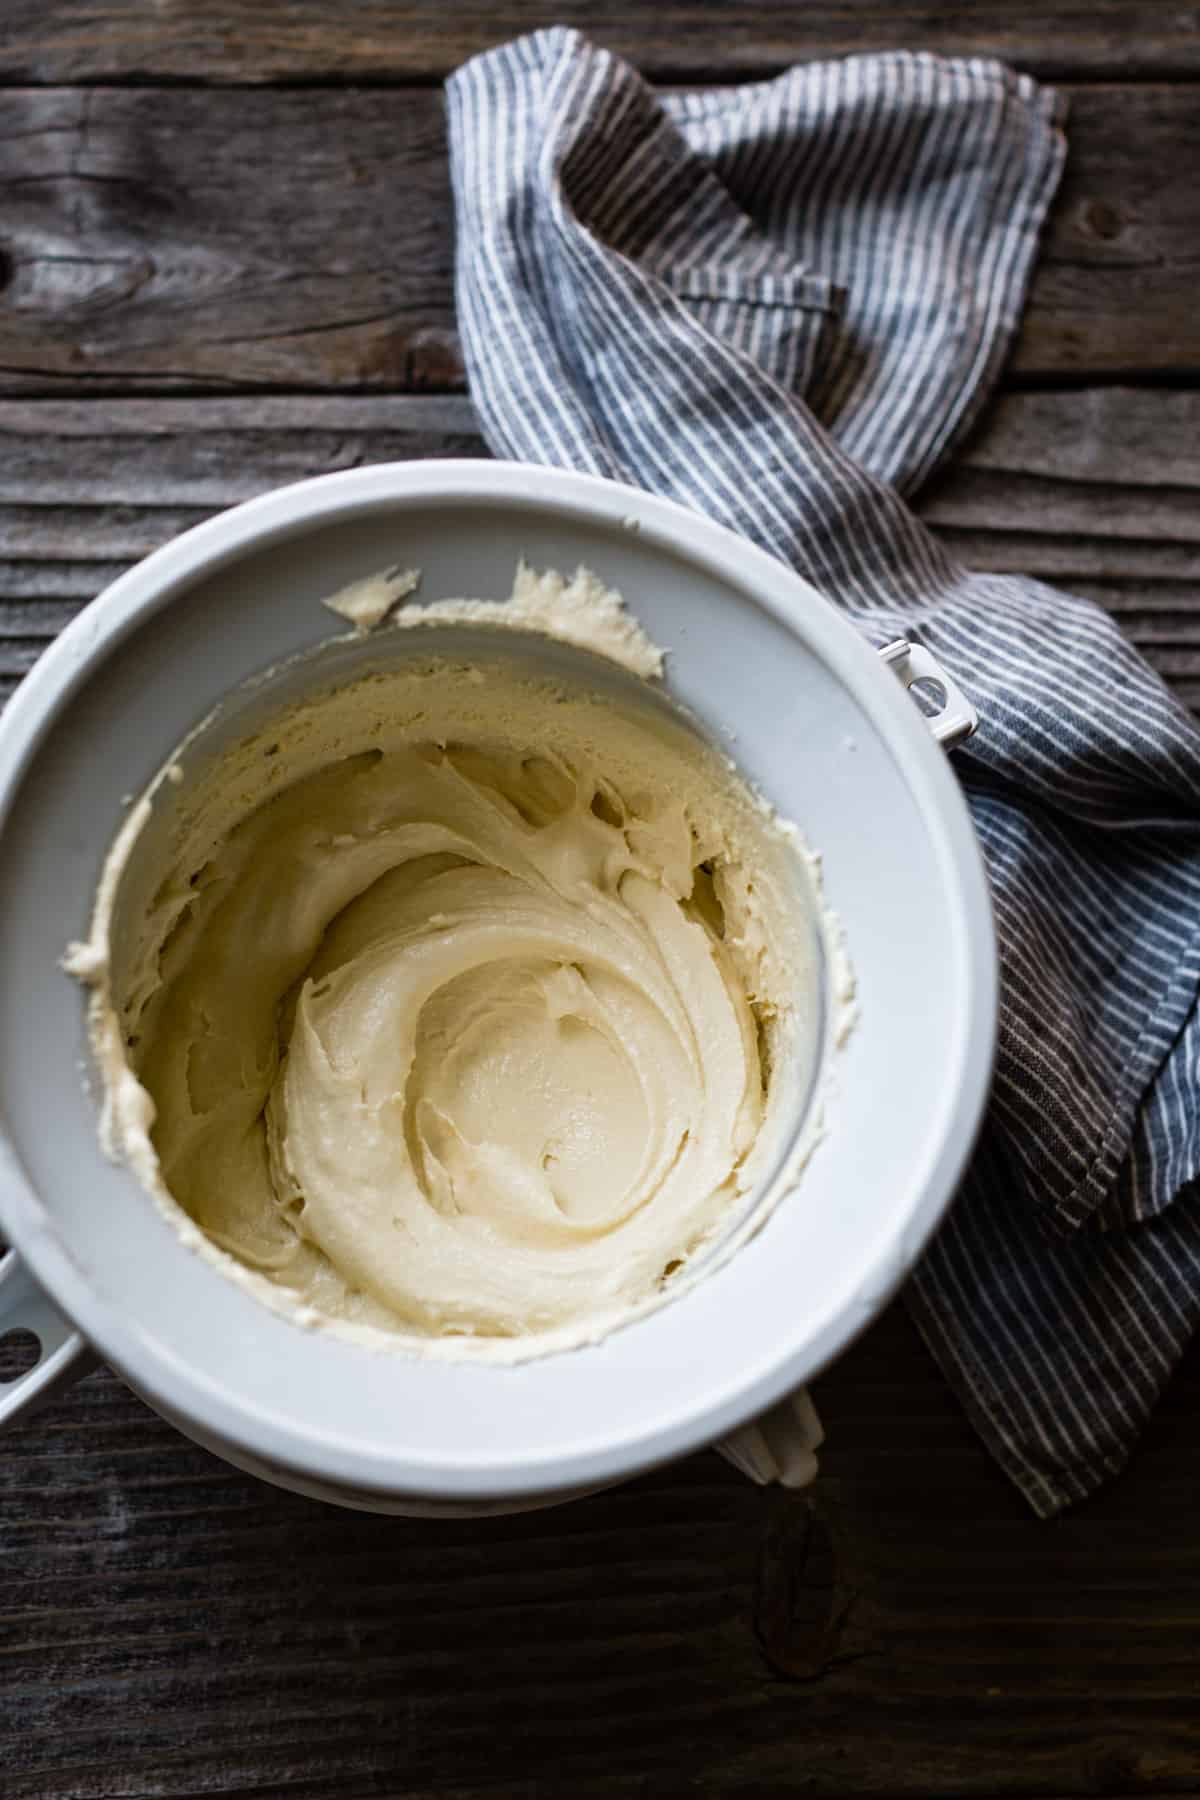
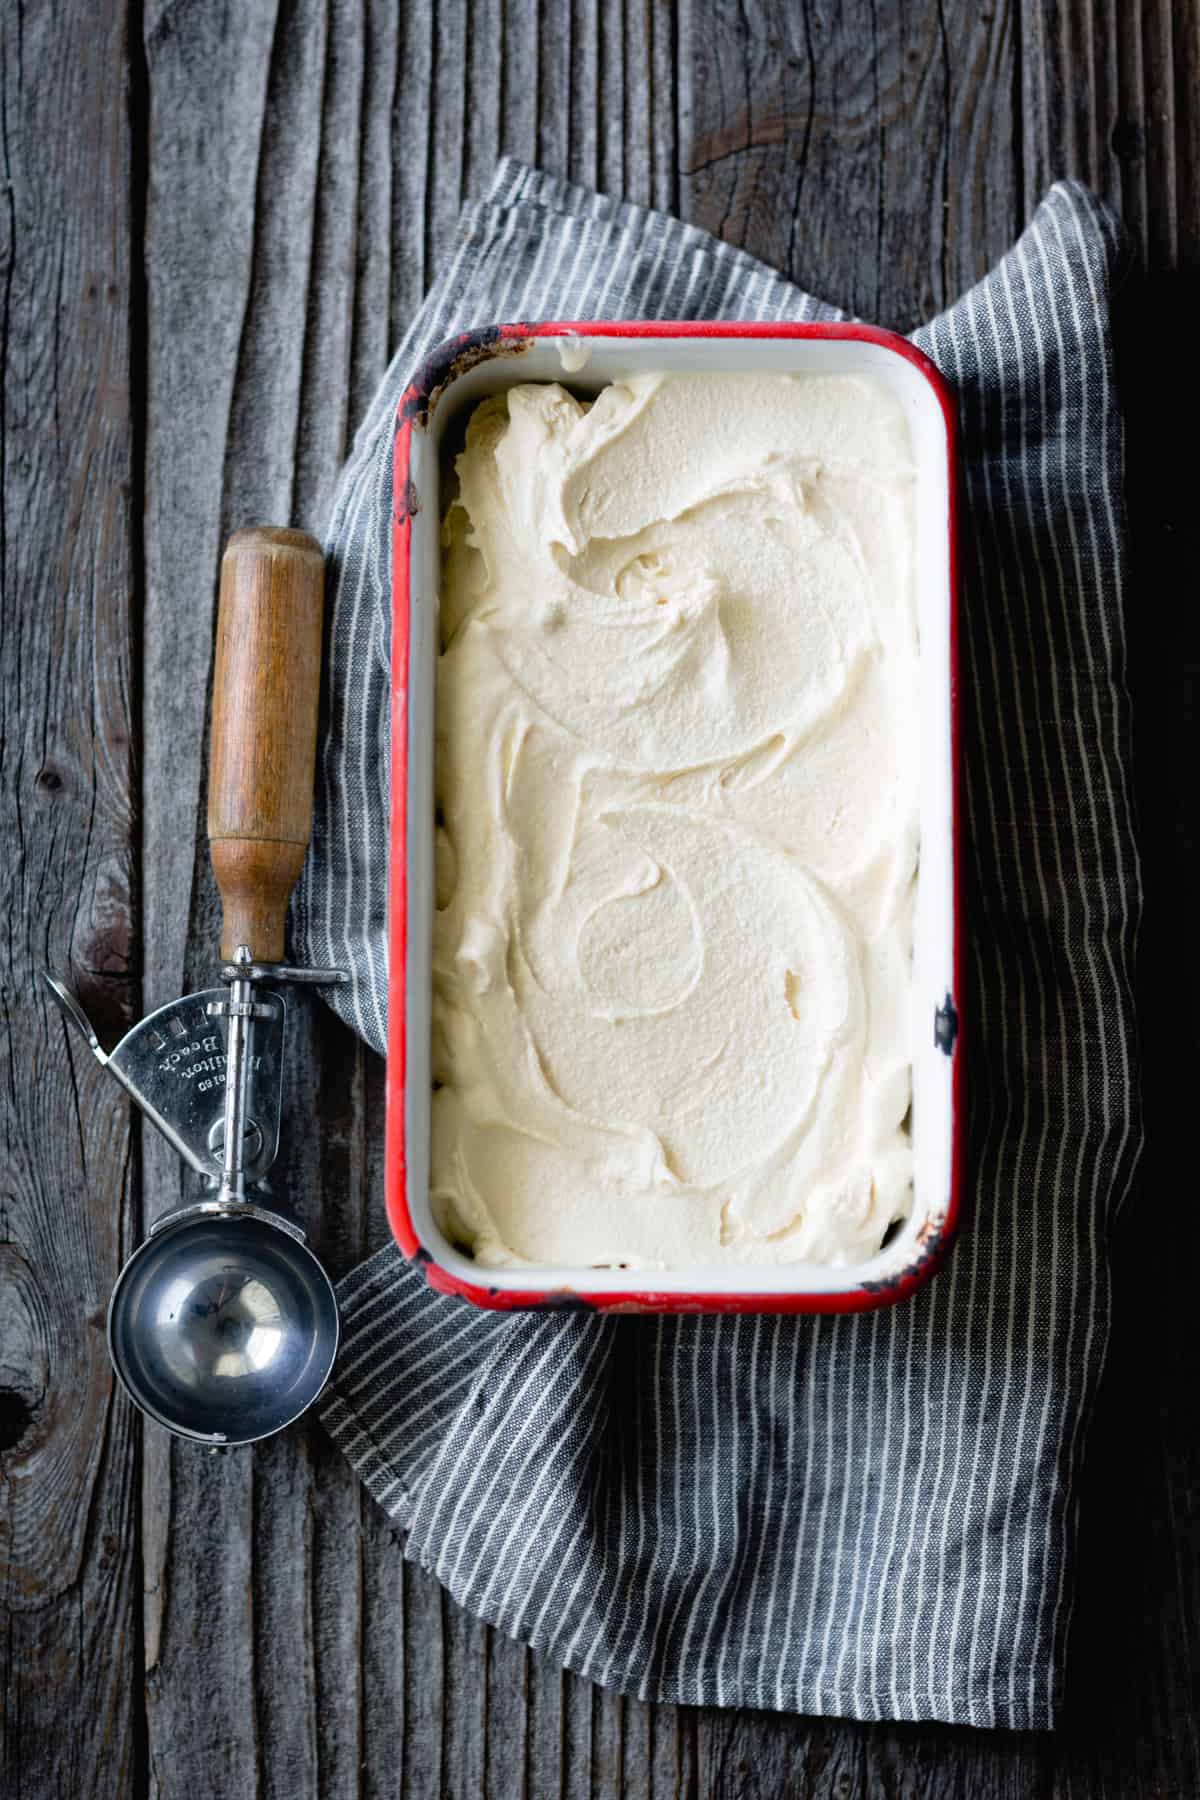
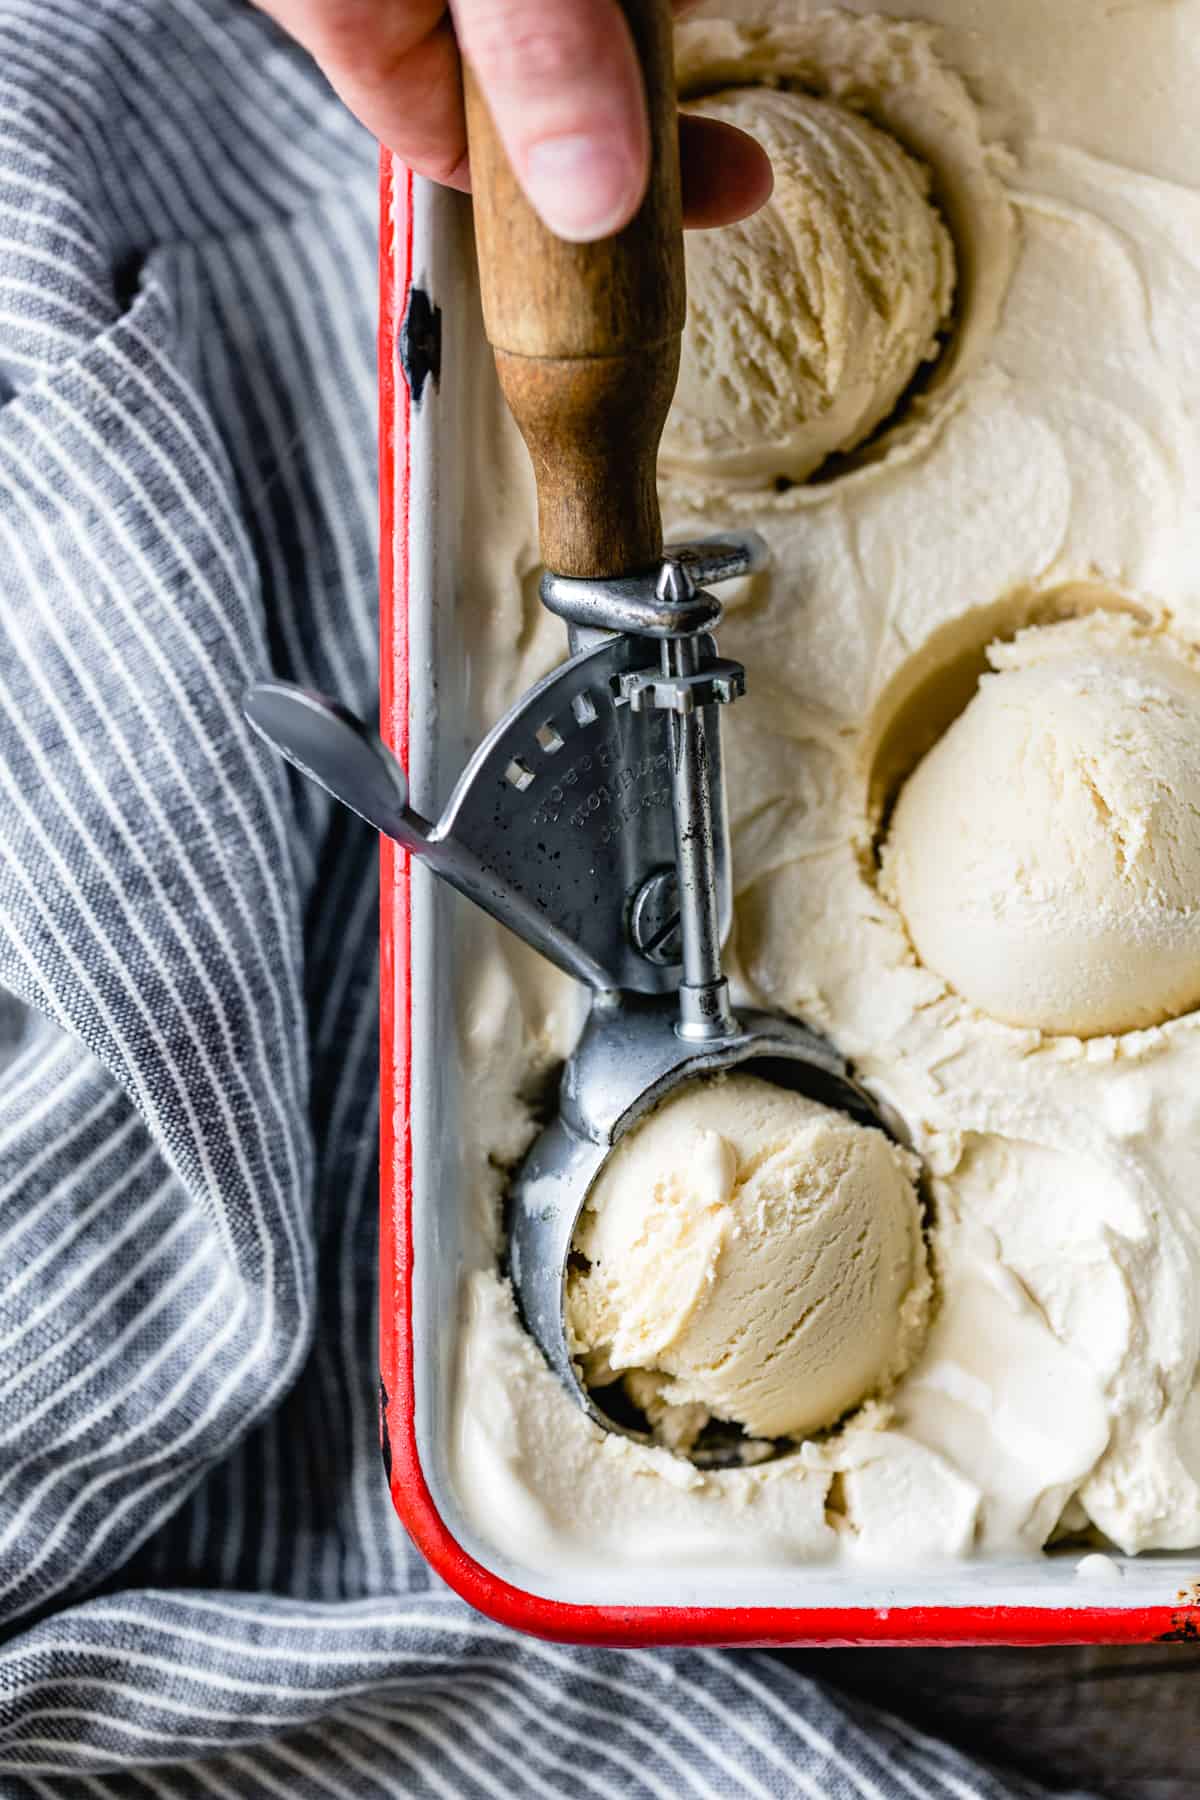
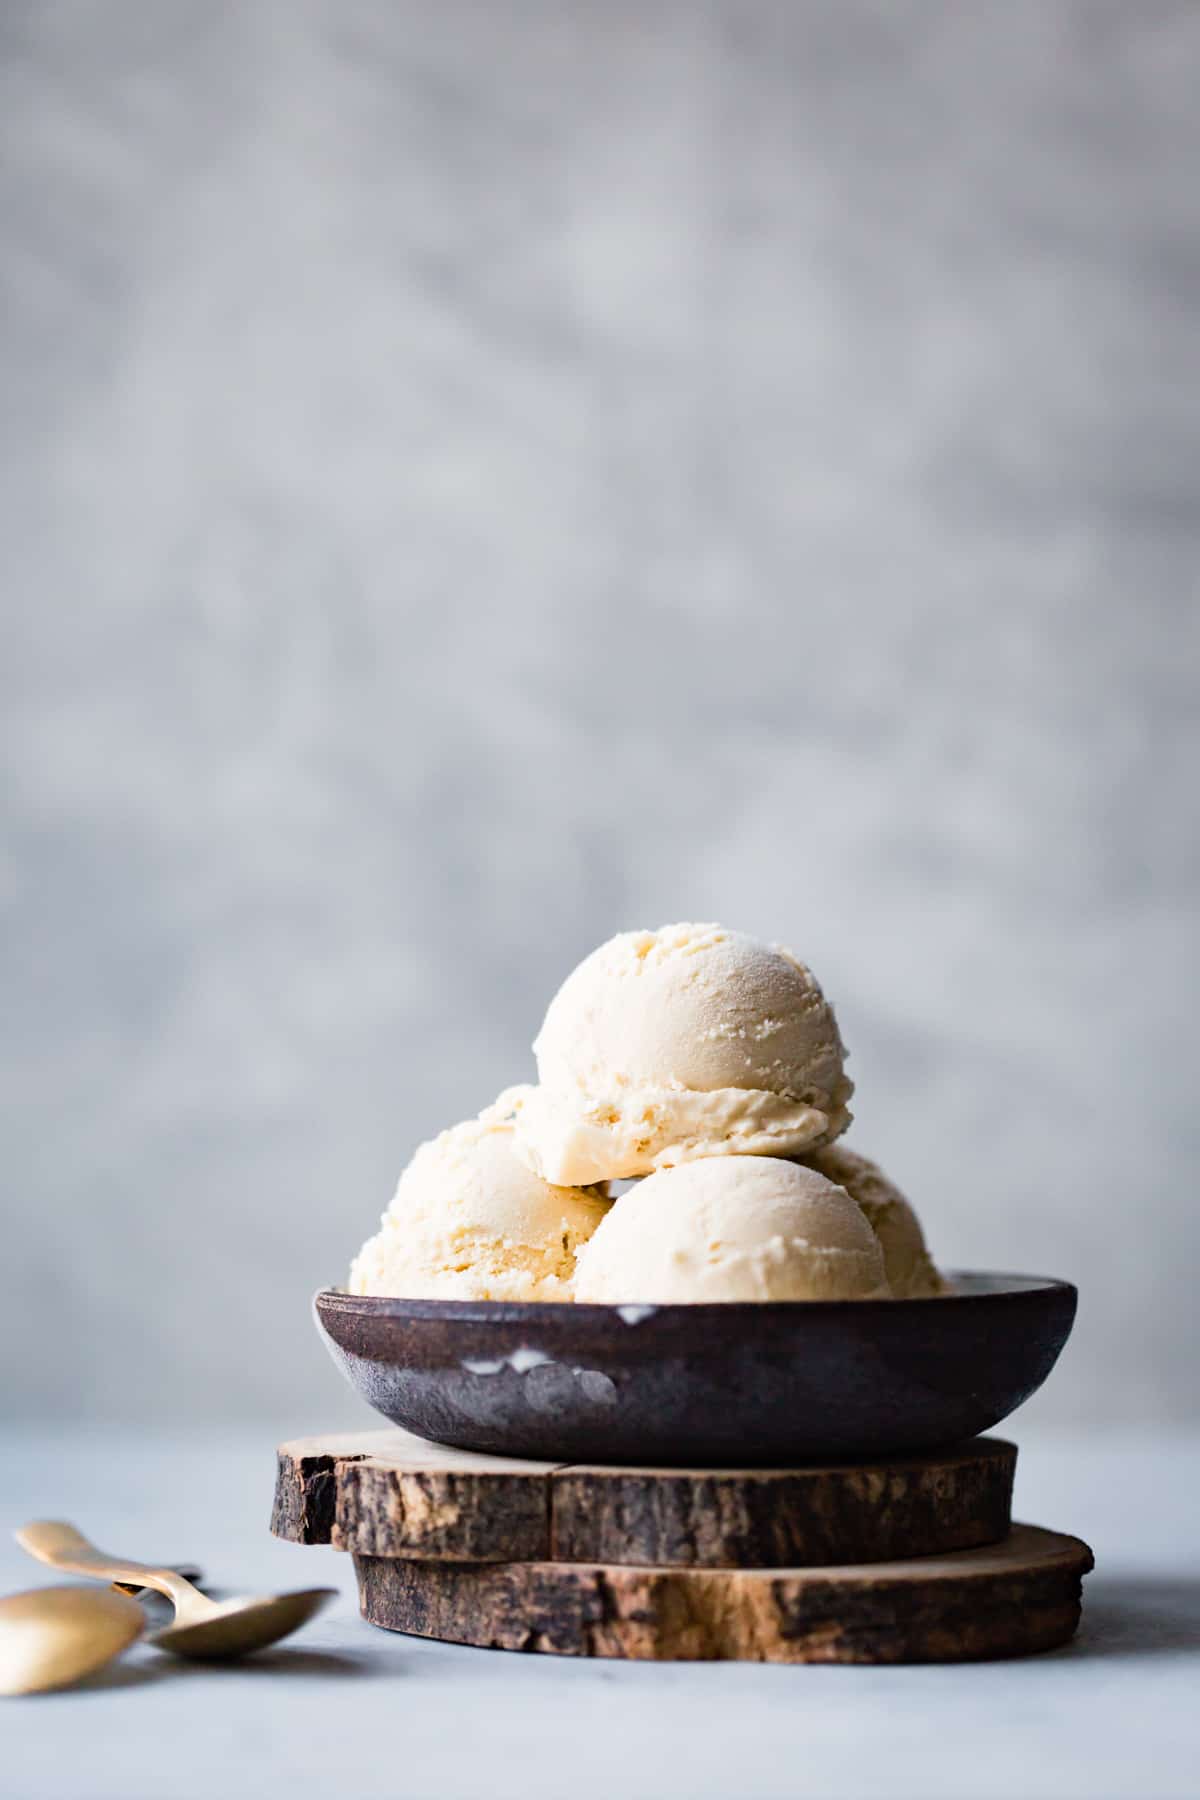
Back in San Francisco with a fierce sugar on snow craving, I churned up a batch of this ice cream. Maple sugar is the superior choice when making ice cream as it adds all the sweetness and maple taste with none of the ice-forming liquid of maple syrup. The result is so intensely maple-flavored, it almost tastes like fake maple flavor or extract.
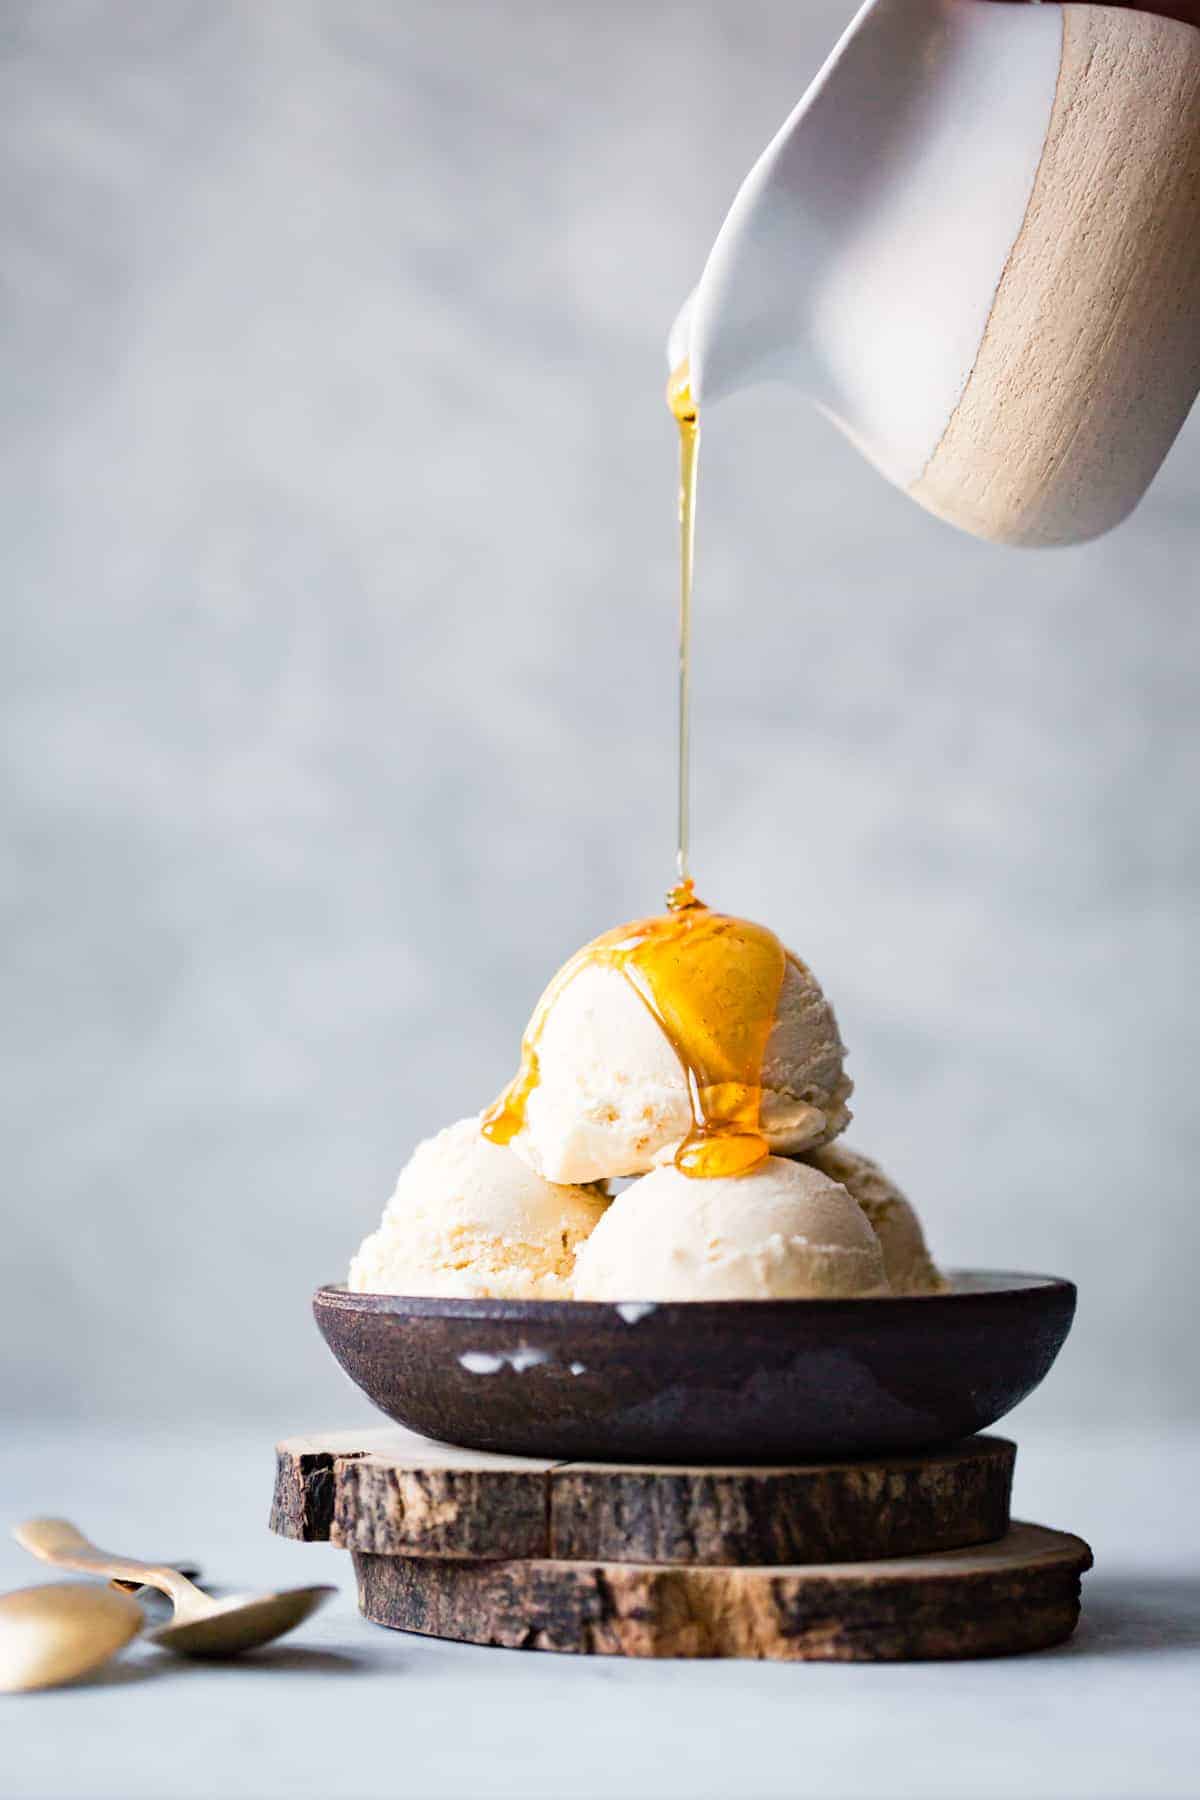
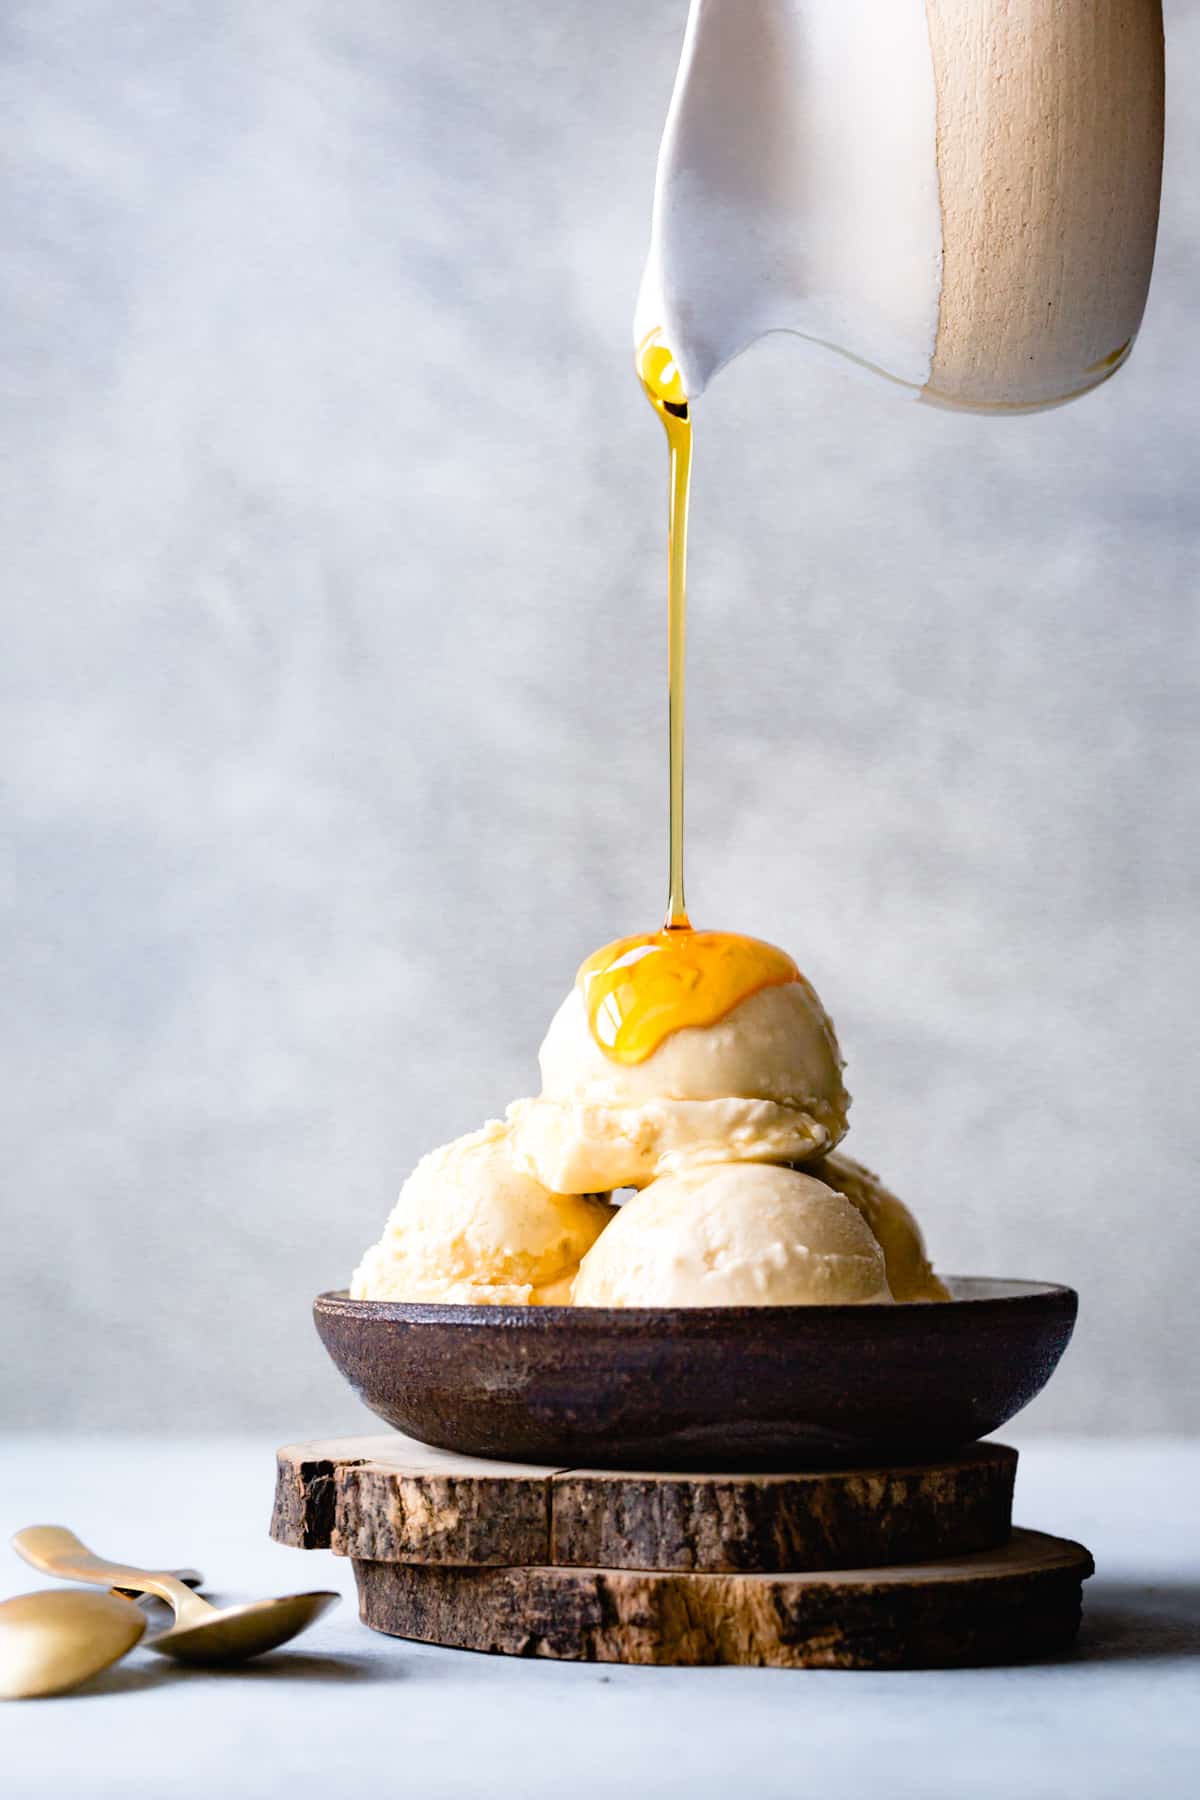
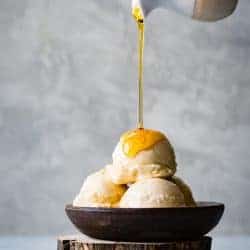
Pour a little maple syrup over the top and you've got yourself "sugar on snow on sugar on snow" as we've been calling it.
Eat scoops of this maple sugar ice cream on its own, or stay tuned this week when I'll share a spring dessert perfect for enjoying with maple sugar ice cream!
More Maple Recipes:
- Dairy-Free & Gluten-Free Pumpkin Bread with Maple Glaze
- Gluten Free Apple Cobbler with Maple & Rhubarb
- Maple Pumpkin Pudding Chômeur {gluten-free, refined sugar-free, dairy-free option}
*Thanks for reading! For more Bojon Gourmet in your life, follow along on Instagram,Facebook, or Pinterest, or subscribe to receive new posts via email. And if you make this maple sugar ice cream, I’d love to see! Tag your Instagram snaps @The_Bojon_Gourmet and #bojongourmet.*
Maple Sugar Ice Cream
Print Recipe Pin RecipeIngredients
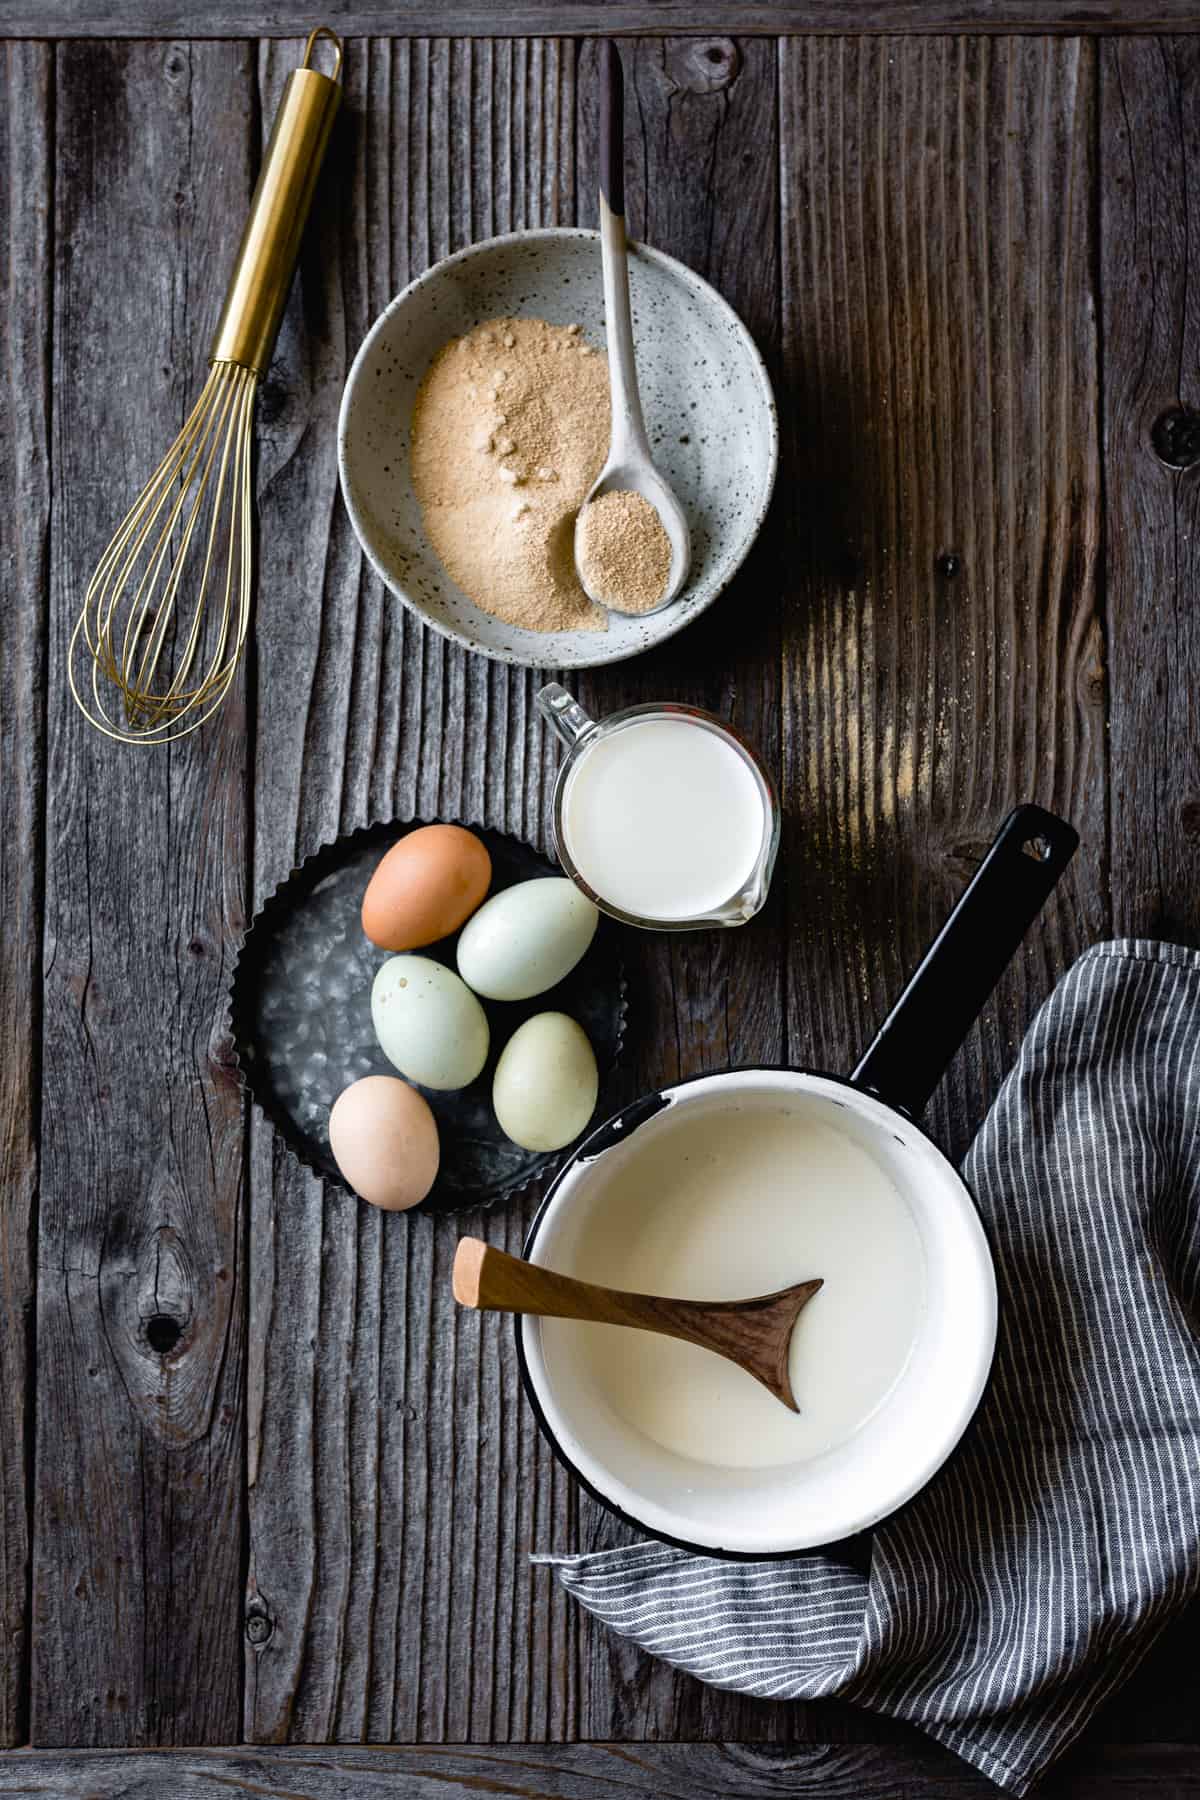
- 1 ¼ cups (300 ml) whole milk
- 4 large egg yolks
- 1 ¼ cups (300 ml) heavy cream
- ¾ cup (110 g) Coombs Family Farms Organic Maple sugar
- 1/8 teaspoon salt
- Coombs Family Farms maple syrup, for drizzling (optional)
Instructions
- Pour the milk into a large metal bowl, place a strainer over the top, and set aside. If you have an instant-read thermometer, have it handy. Place the egg yolks in a medium bowl set on a damp towel to stabilize it.
- Combine the cream, maple sugar, and salt in a medium, heavy-bottomed saucepan and place over medium heat. Warm, stirring occasionally, until the cream is hot and steamy. Remove from the heat. Note that the acidic maple sugar might make the cream look curdled, but don't panic - the custard will become silky smooth during the next steps.
- Whisking constantly with one hand, pour the hot dairy very slowly into the yolks. This is called tempering, and prevents the yolks from scrambling. Pour the mixture back into the pot and set the pot over low heat. Cook, stirring constantly with a heatproof silicone spatula, scraping the sides and bottom of the pot, until the custard just begins to “stick” (or form a thickened film) on the bottom of the pot (you may have to tilt the pan to see it), or registers 170ºF on an instant-read thermometer, 3-5 minutes.
- Immediately pour the custard through the strainer and into the cold milk and stir to combine. Place the bowl in an ice bath to chill it quickly (or cover and chill in the refrigerator until very cold, at least 4 hours and up to 1 day).
- Once the ice cream base is cold, optionally place in the freezer for 15-30 minutes to get it really cold, stirring once or twice (this way the ice cream will take less time to churn, resulting in a denser, creamier ice cream). Pour the base into your ice cream maker and process as per the manufacturer’s instructions. Mine takes about 20 minutes to churn.
- When the ice cream is finished churning, scrape it into a container. Press a piece of parchment paper directly onto the surface (this will discourage crystals from forming), cover tightly and freeze until firm, at least 2 hours. Homemade ice cream is best within the first week of being made, but will keep for a month or two in the freezer. To serve, let it soften for a few minutes at room temperature, and drizzle with a bit of maple syrup if you like.
Notes
Nutrition


Alexandra | Occasionally Eggs says
It looks so amazing, Alanna, and what a wonderful trip to have taken! I grew up in Ontario and maple syrup on snow was one of my very favourite things - the taste of maple syrup is quintessentially home to me. This ice cream is perfection.
Alanna says
It really was more delicious than I could have imagined! Thanks so much for the sweet note. <3
Jennifer Emilson says
Alanna, this was a lovely post! We live in Ontario’s Maple Syrup land, so what you described and experienced brought back so many great memories! As usual, your photos are simply glorious! Made me wish I was right there with you.
Question: in your recipe, you call for maple sugar. Is this specifically maple sugar, or could I use maple syrup? Thanks in advance!!
Alanna says
Aw thanks lovely! I hope to visit Ontario someday too. I wish you had been there too! I think maple syrup will be too icy, so maple sugar is the way to go if you've got it. I updated the header to explain! But I do have an older maple bourbon pecan ice cream on TBG which I highly recommend! https://bojongourmet.com/2012/09/maple-bourbon-pecan-ice-cream/
Jennifer Emilson says
Perfect, thanks Alanna. Will definitely stick with the Maple sugar. Have a glorious May!
Rachel says
As a native Vermonter, this post makes me so happy! I'm glad you got to experience the wonder of sugaring season. If you manage to make it to Vermont during the summer months, make sure and get a Maple Creemee (our version of soft serve)!
Alanna says
Total magic, I can't wait to go back - and now I have a perfect maple creemee excuse! GIVE ME.
Rhonda @ Change In Seconds says
Looks delicious!
Alanna says
Thanks Rhonda!
Aysegul Sanford says
As always, I am in awe of your story telling abilities and photography my friend. It was wonderful to meet you and have a fun evening.
You have done a beautiful job of explaining the process and all the work that goes into making maple syrup. And this ice cream... How I wish I could have some right now.
Can't wait to see you again, hopefully very soon and in the West Coast.
Sending you warmest hugs from the-still-somewhat-chilly-mountains of Vermont. :)
Alanna says
You're the sweetest Aysegul. I loved how the server at the restaurant thought we were old friends! It sure feels like it. <3 Hope to see you soon as well, East or West!
Rebecca @ Cooking Therapy says
This is such a beautiful post
Alanna says
Aw thank you.
Rebecca @ Cooking Therapy says
Can I ask what you used to shoot these pics? :)
Erin says
As a northern Ontarian maple flavoured everything is a way of life! This recipe sounds divine! Maple walnut used to. E my all time favorite ice cream so I may have to fold some in, for nostalgia’s sake :)
Alanna says
That sounds heavenly!!
Riddhima Nair says
That sounds yummy, thanks for sharing.
Nuriya says
Gorgeous recipe! I made it and the flavor was exquisite. The texture became a bit hard and icy after a day. Could that be due to over-churning? *I used the sugar and not syrup as indicated.
Alanna says
Aw thanks for trying my recipe and for the note Nuriya! Since my ice cream recipes tend to call for less sweetener (and no gums or other stabilizers) they can tend to be harder and more icy than storebought. Overchurning could potentially make it icier I suppose? If you like, you could try adding a tablespoon or so of a spirit (vodka, bourbon, etc.) which will give it a softer freeze. Or you can increase the maple sugar or cream. You could also try the maple bourbon pecan ice cream I linked to in the notes! That one stays super soft thanks to all the bourbon. :)